
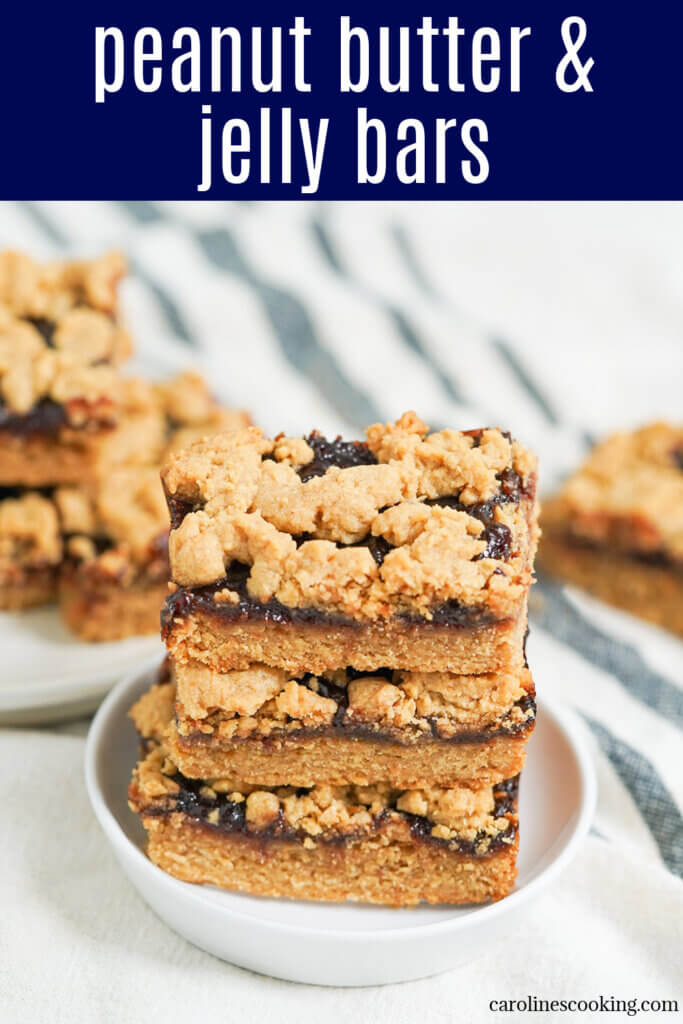
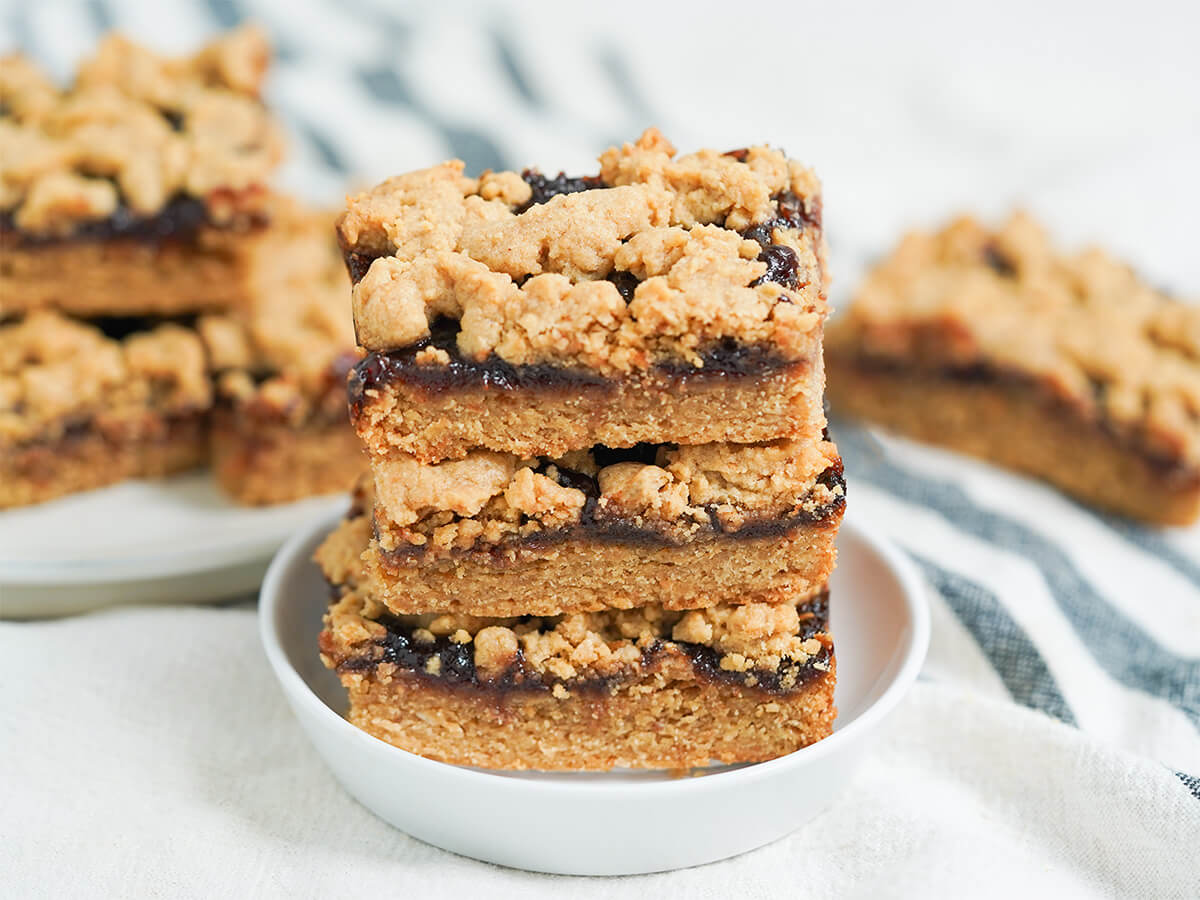
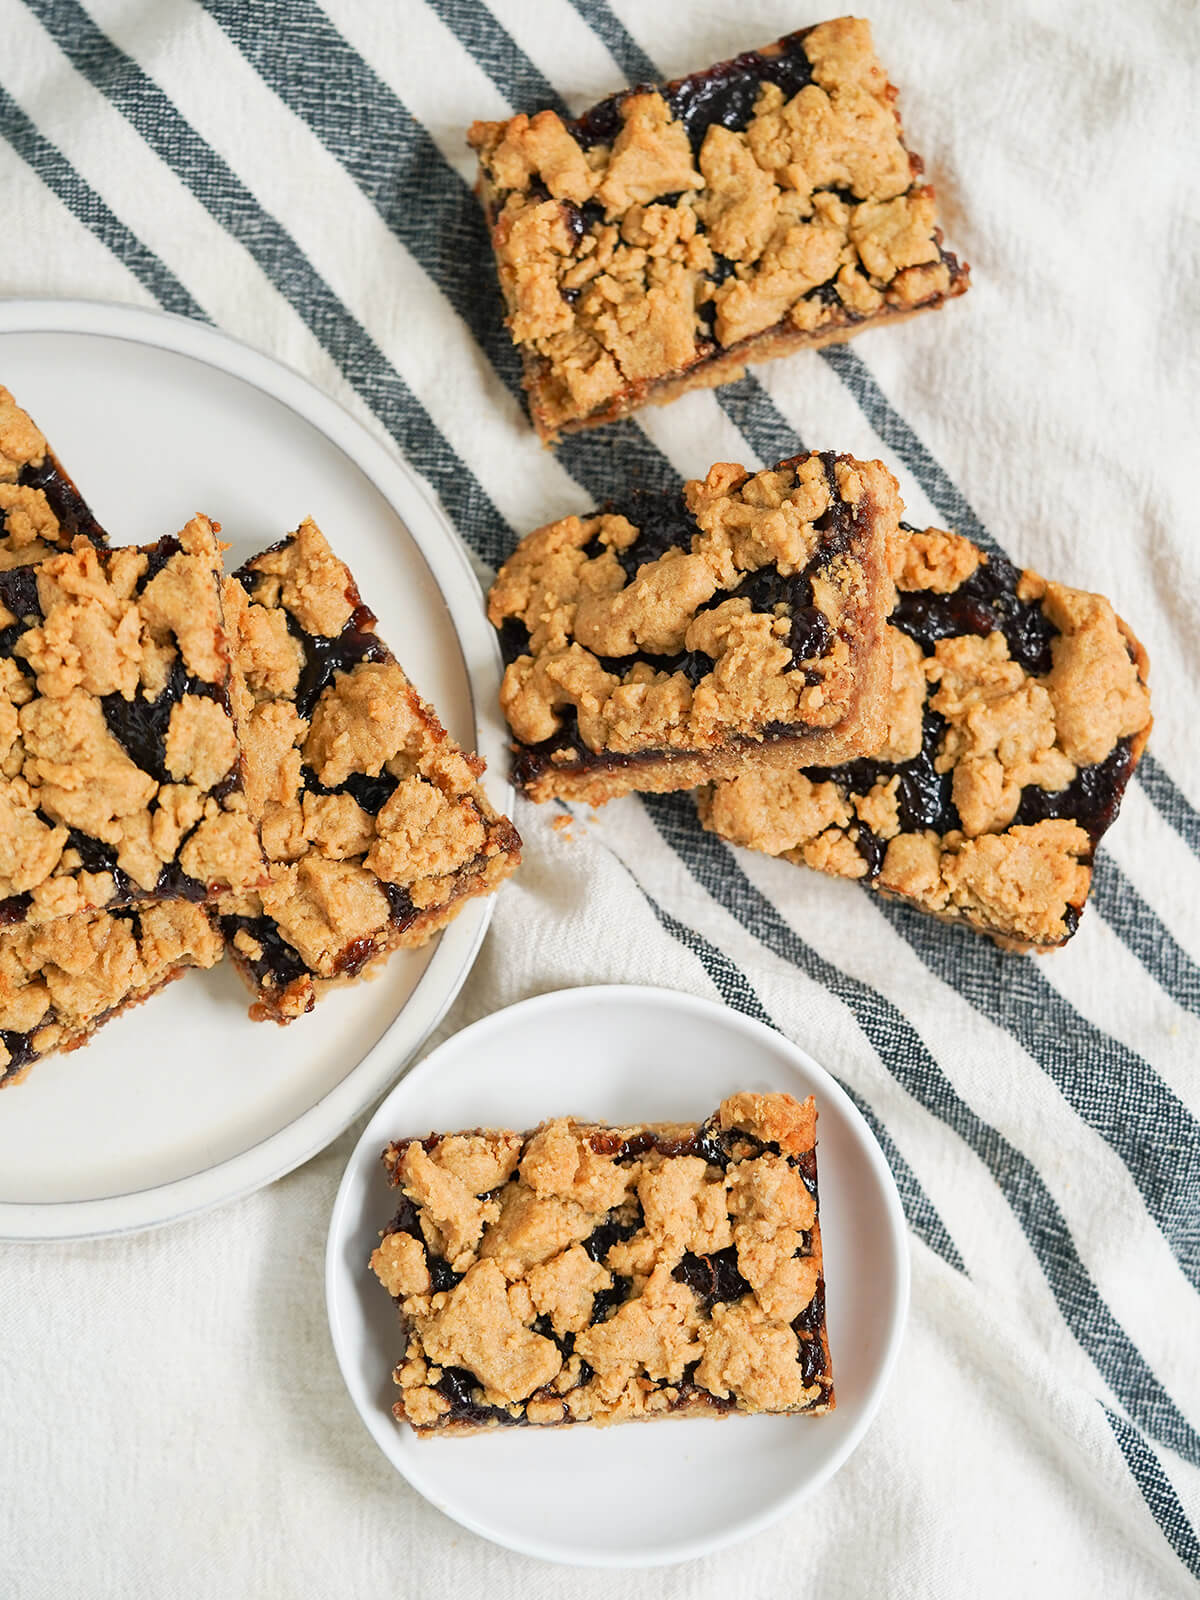
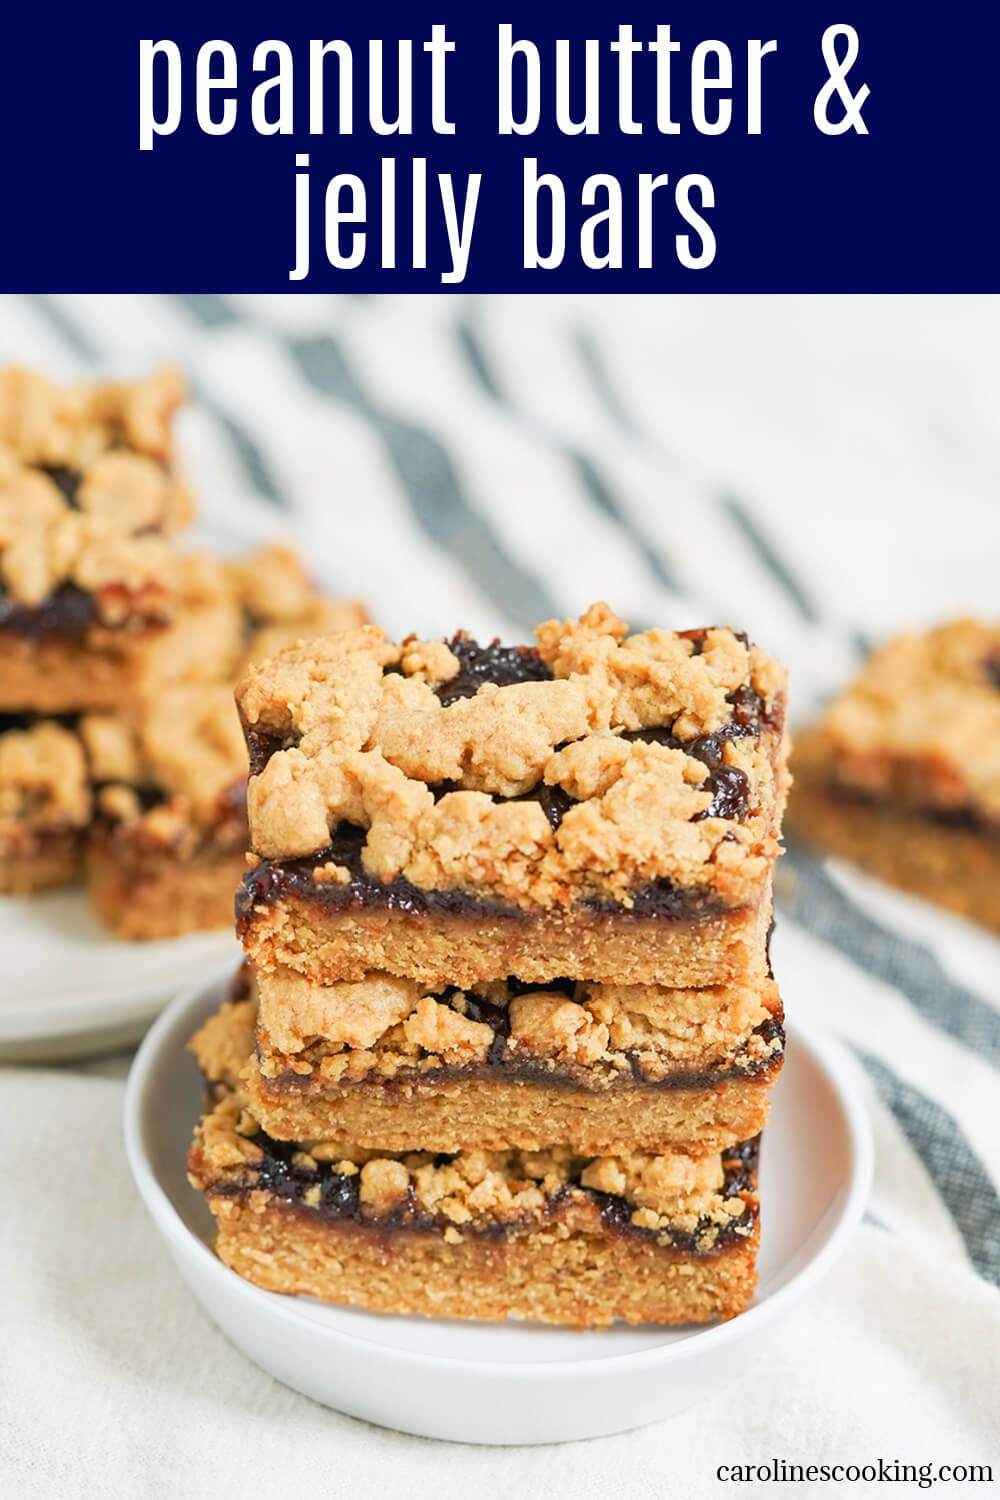
These peanut butter and jelly bars combine a tender peanut butter cookie base with sweet, fruity jelly/jam and a crumble topping. They're easy to make and sure to be a crowd favorite.
This post may contain affiliate links, where we earn from qualifying purchases. See more details in the policy page.
Growing up in the UK, peanut butter and jelly was not the staple lunch for me that it was for many in the US. And in all honesty, it's still not one I would ever reach for. But while the sandwich may not be top of my list, I do appreciate the flavor combination and find it works even better in cookie bar form.
Bar cookies/slices are a great easy option as a sweet treat that have a few advantages over individual cookies - you don't need to worry about forming them, you can cut them in different sizes, as suits your needs, and they're often easier to transport. I've shared some others we love before, like peppermint slice, ginger crunch and Danish raspberry bars, and these were another that instantly went down well.
History of peanut butter and jelly
These days, peanut butter and jelly is a bit of a cultural icon in the US and for many a core childhood sandwich, but it has quite interesting origins. Peanut butter was originally created in the 1880s and 90s as a way for patients who couldn't chew meat to get some protein.
A recipe for peanut butter and jelly first appeared in the Boston Cooking-School Magazine in 1901 and was more considered an elite tea room treat. The author, Julia Davis Chandler, recommended pairing peanut paste with currant or crabapple jelly.
It wasn't until the 1920s and 30s that a few advances in food technology led to it becoming more of an everyday sandwich. Joseph Rosefield created the hydrogenation process that helped create a peanut butter that didn't separate or stick to your mouth as much. Then Otto Frederick Rohwedder created the commercial bread slicing machine in 1928.
By the Great Depression, sliced white bread, grape jelly and peanut butter were all produced on a mass scale and were highly affordable, making the sandwich a go-to shelf-stable lunchbox option. Then peanut butter and jelly were both included in WW2 ration kits for the same reasons. Returning soldiers helped drive up demand post-war, leading to the high popularity in the 1950s.
It's maybe not quite as common in lunchboxes these days, but it's still popular. And you'll find adaptations such as different nut/seed butters to accommodate allergies or overall fancier versions. And the flavors have made their way into baked goods like these.
Making peanut butter and jelly bars
These are easy to make with two main component parts:
- The peanut-y cookie mixture, part as the base then part crumbled over the top.
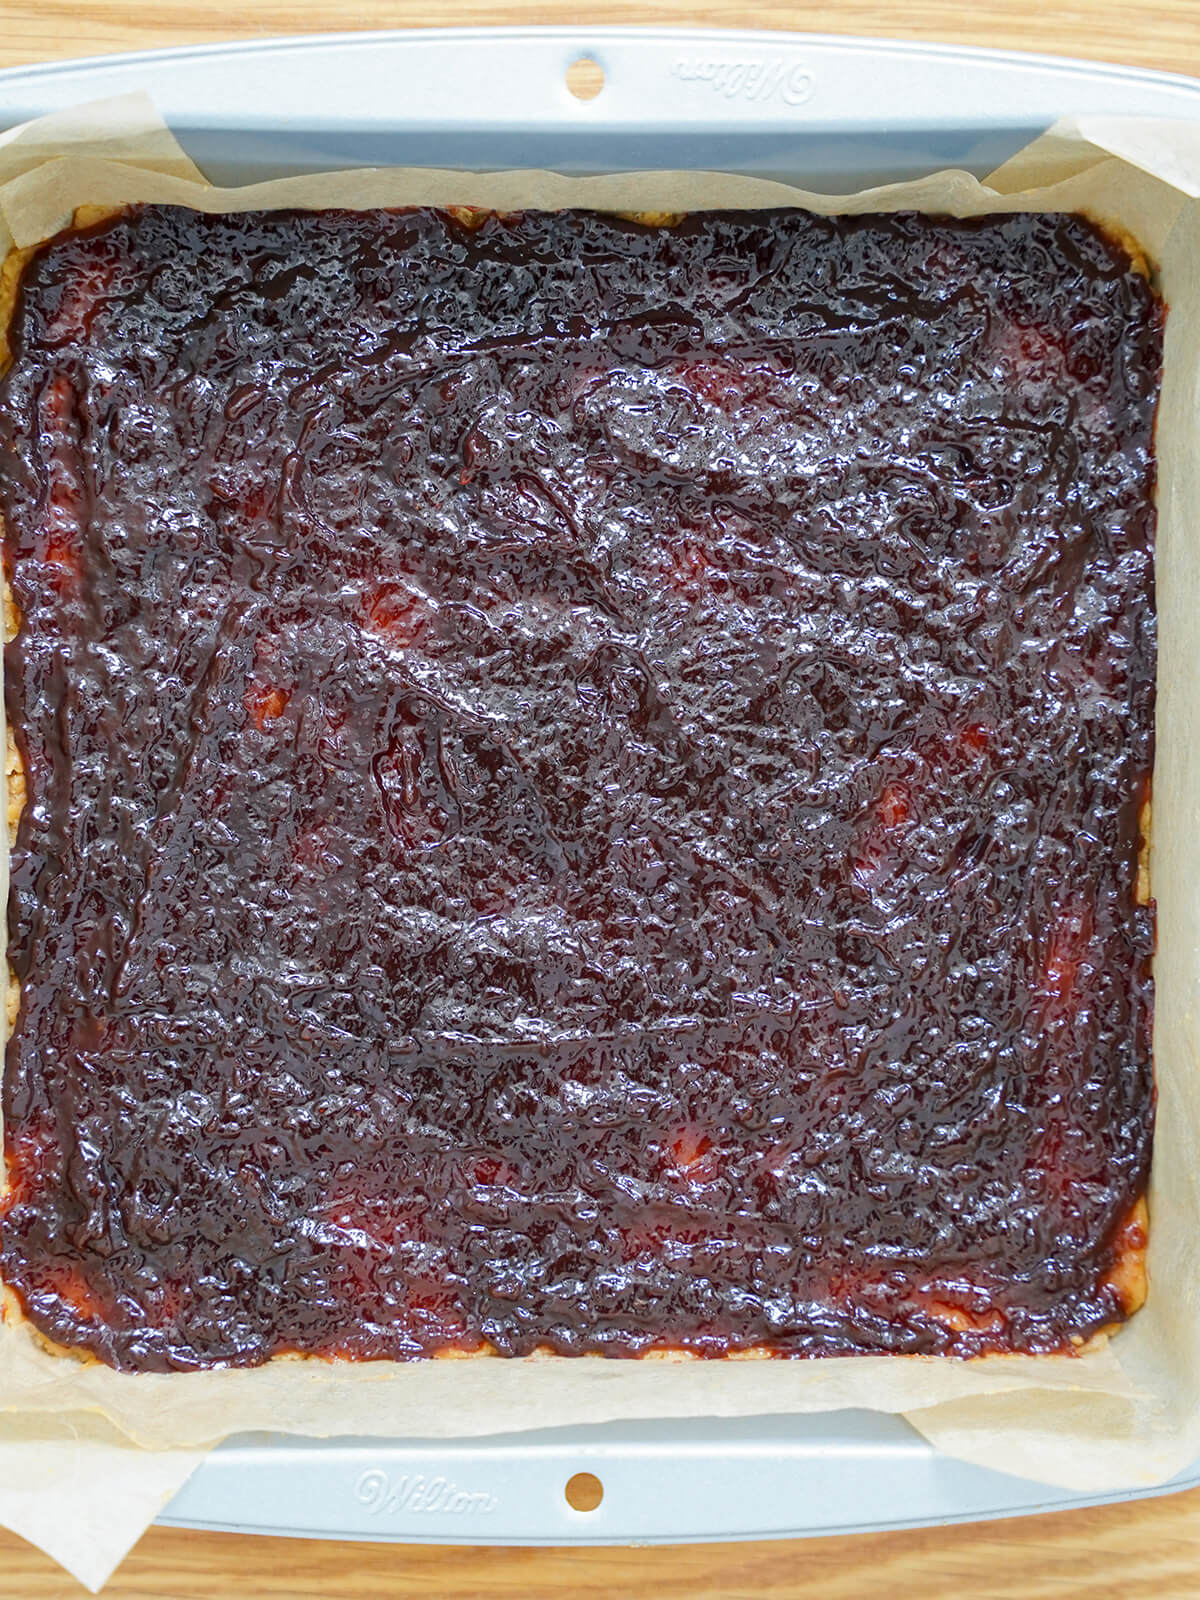
- The jelly/jam layer, spread over the base so you get some in every bite.
For non-Americans, note that by "jelly" I'm meaning the sweet spread essentially like a jam but without any chunks of fruit. It's made from juice rather than whole pieces of fruit. Here I'd recommend a good quality jam or preserves to maximize the fruity flavor, but you can use as you have or prefer.
I love these made with my homemade Concord grape jam (that's a little borderline jam/jelly). But these would also be good with raspberry, strawberry, blueberry or blackberry jam, for example.
The cookie base is easy to mix up, though try not to overmix. It will be soft and so easy to then press part as the base layer evenly into a lined baking pan/tin. It may seem a little thin but don't worry, it will feel fine once done.
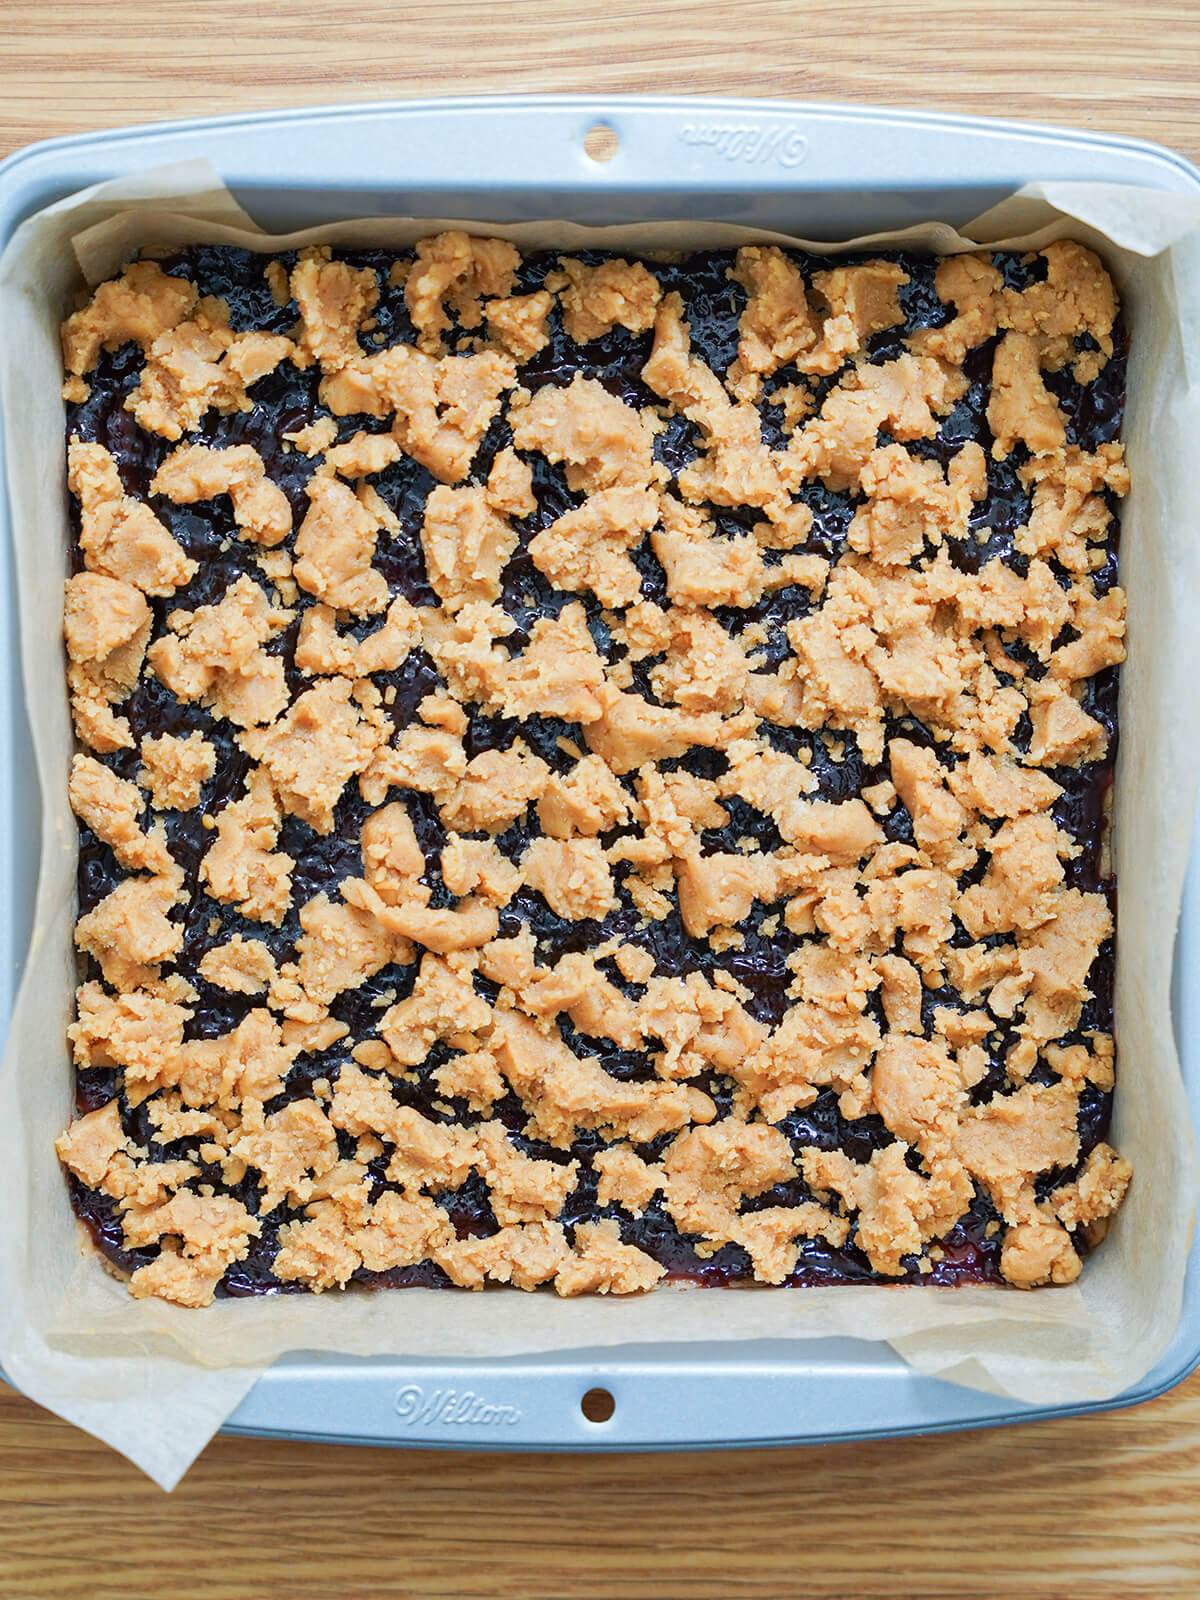
Spread the jam over evenly, right to the edges, then crumble the last of the cookie mixture on top. It doesn't need to be neat or in any particular pattern, just scattered. Though I prefer smaller pieces so it's more even once baked. Bear in mind the top doesn't melt all that much.
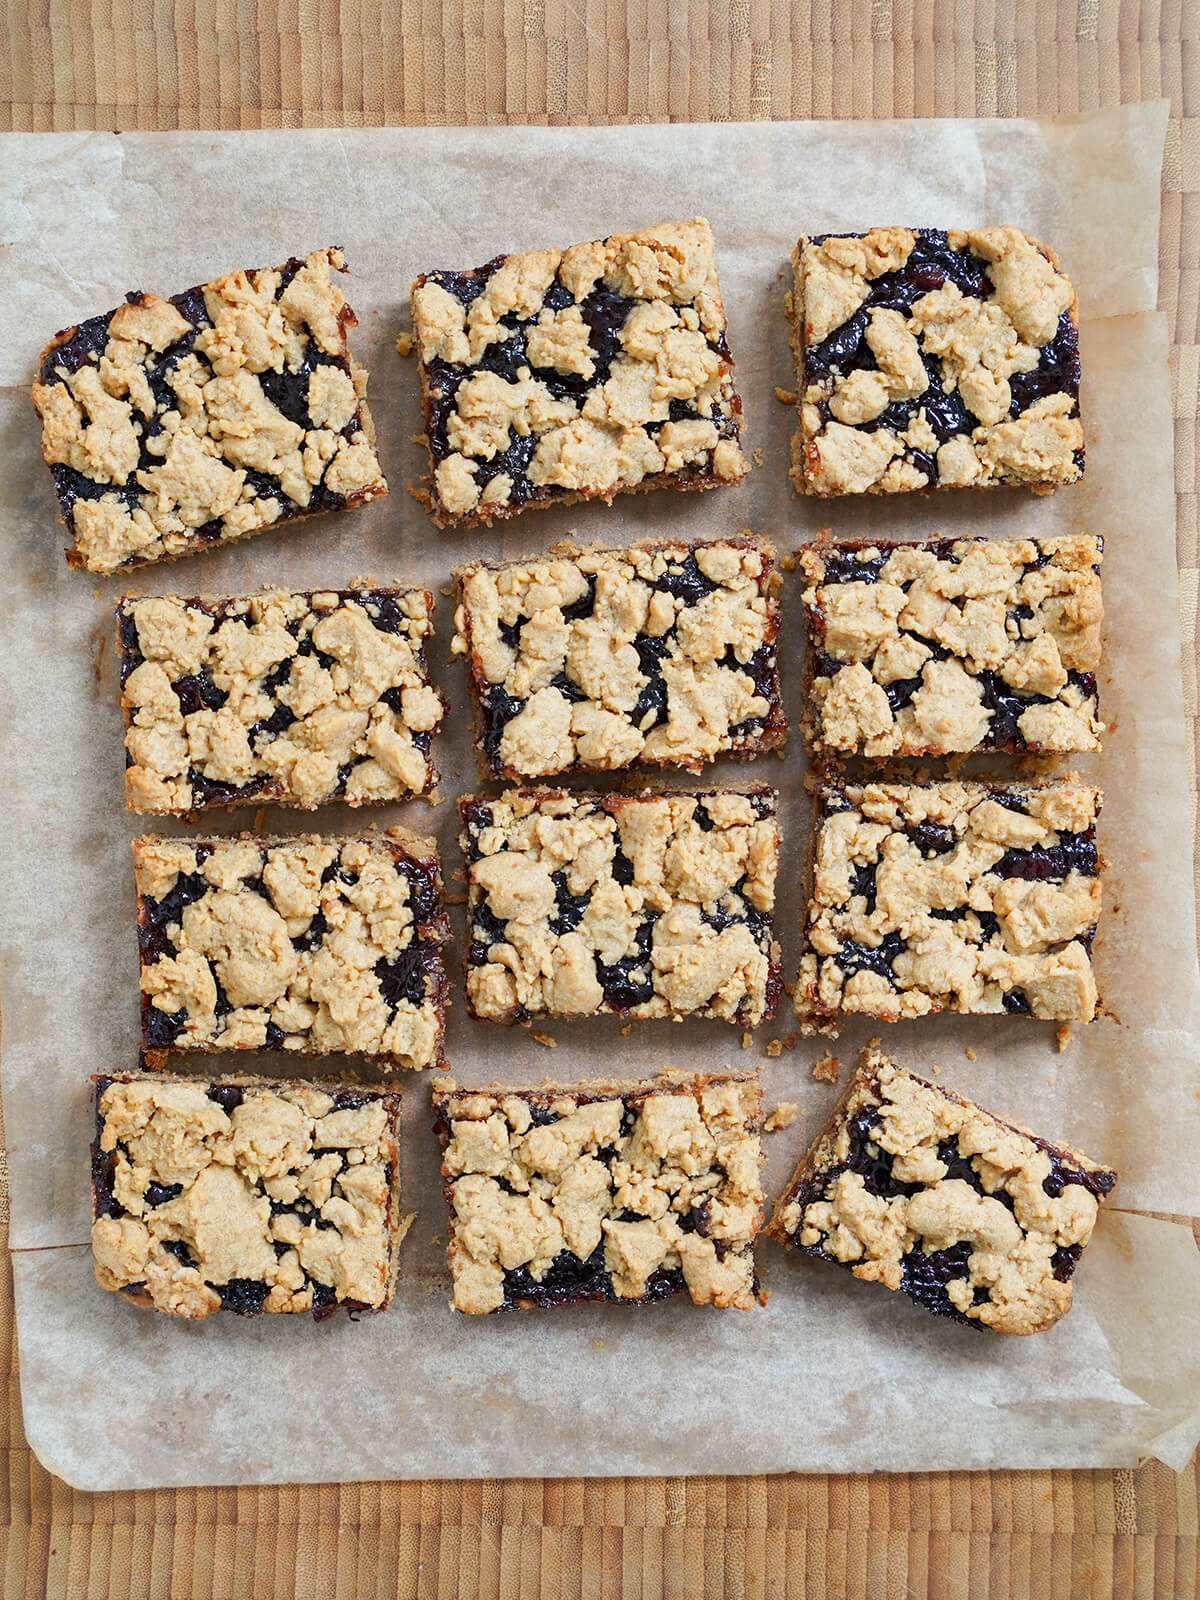
Then, bake until the top is just going brown. That way the base is gently brown on the bottom but still soft. Let it cool before cutting up into chunks. You can make as many as you like but I'd say around 12 pieces works well. You could make less, but they are pretty sweet and slightly crumbly. We quite like them as even smaller bites, in fact.
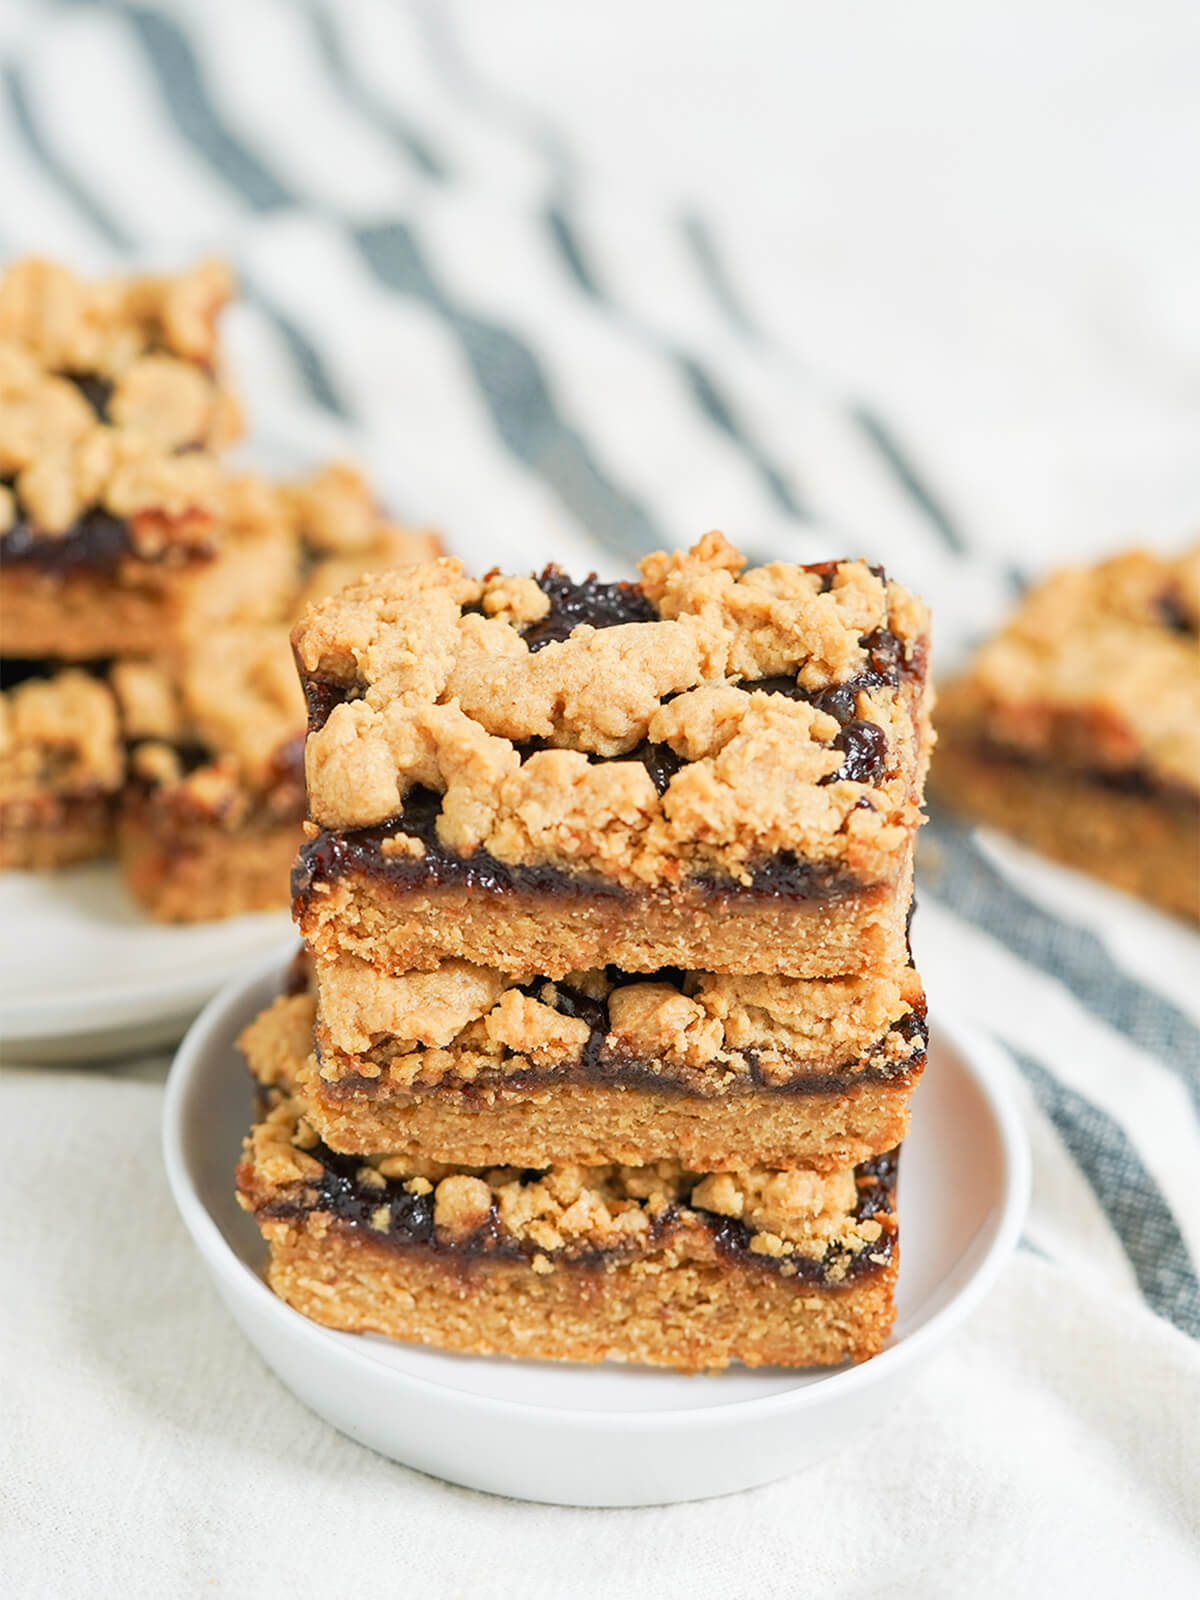
These peanut butter and jelly bars are a tasty mix of soft peanut-y cookie and sweet fruity jam. They're easy to make and great for lunchboxes, after school or really an any time treat.
Try these other tasty sweet treats:
- Mars bar slice (similar to rice krispie treats but with chocolate caramel flavors - easy, no bake and always popular)
- Apple cider cookies (soft cookies with a lovely apple flavor and dusting of sugar)
- Coconut oatmeal chocolate chip cookies (these easy cookies have a delicious mix of flavors and textures)
- Plus get more snack recipes, both sweet and savory, in the archives.
Peanut butter and jelly bars
Ingredients
- ½ cup unsalted butter (½ cup is 1 stick/4oz)
- ½ cup granulated sugar
- ¼ cup light brown sugar dark brown is also fine, packed
- 1 egg
- ¾ cup creamy peanut butter
- ½ teaspoon vanilla extract
- 1 ½ cups all purpose flour plain flour
- ½ teaspoon salt
- ½ teaspoon baking powder
- ¾ cup jam or preserves see notes
Instructions
- Preheat oven to 350F/180C. Line a 9 x 9in (23cm x 23cm) baking pan/tin with parchment so that you have a slight overhang.
- Cream the butter with the regular and brown sugars using a stand mixer, or use a handheld mixer, until well mixed and gently glossy. Add in the egg, peanut butter and vanilla and mix in to give a smooth paste.
- Add the flour, salt and baking powder, slightly mixing the salt and baking powder into the flour either right before adding or as you add to help make sure they are evenly mixed in. Mix together so the flour mixes through evenly, but be careful not to over-mix. The dough will be pretty soft.
- Take roughly two thirds of the mixture and spread it into an even layer in the bottom of the lined baking pan/tin. You might find it easier to use your hands to help spread it to the edges. Smooth the surface with a spatula.
- Spread the jam/preserves over the base layer, spreading evenly right to the edges. Take the remaining cookie dough mixture and break it up into clumps and spread these over the jam layer - they down have to be particularly even or organized, but I find smaller pieces best.
- Bake for around 25 - 30 minutes until the top is dry and are just starting to brown on the edges. Allow to cool completely before cutting into pieces - I find it works best to carefully lift from the pan first using the edges of the parchment. I suggest 12 pieces but you can make more or less as suits. Store in an airtight container.
Video
Notes
Nutrition (per serving)
I use this 9x9 inch square baking pan for this that works well (and has a lid, handy for storing any leftovers; affiliate link).
See some of my favorite cooking tools and ingredients in the Caroline's Cooking Amazon store.
Remember to pin for later!
Leave a Reply