
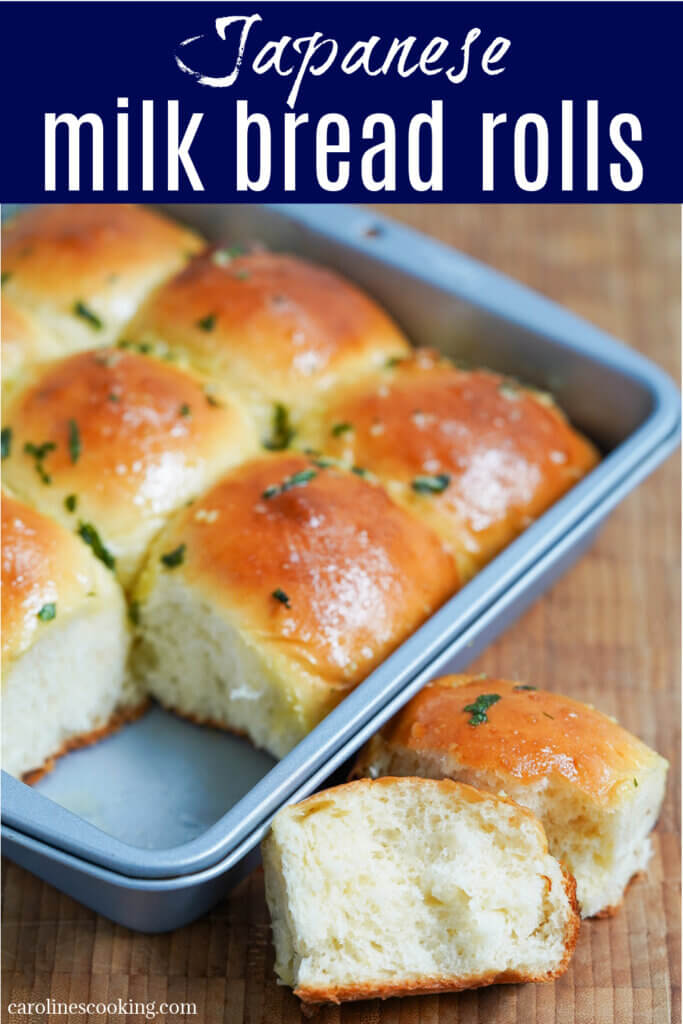
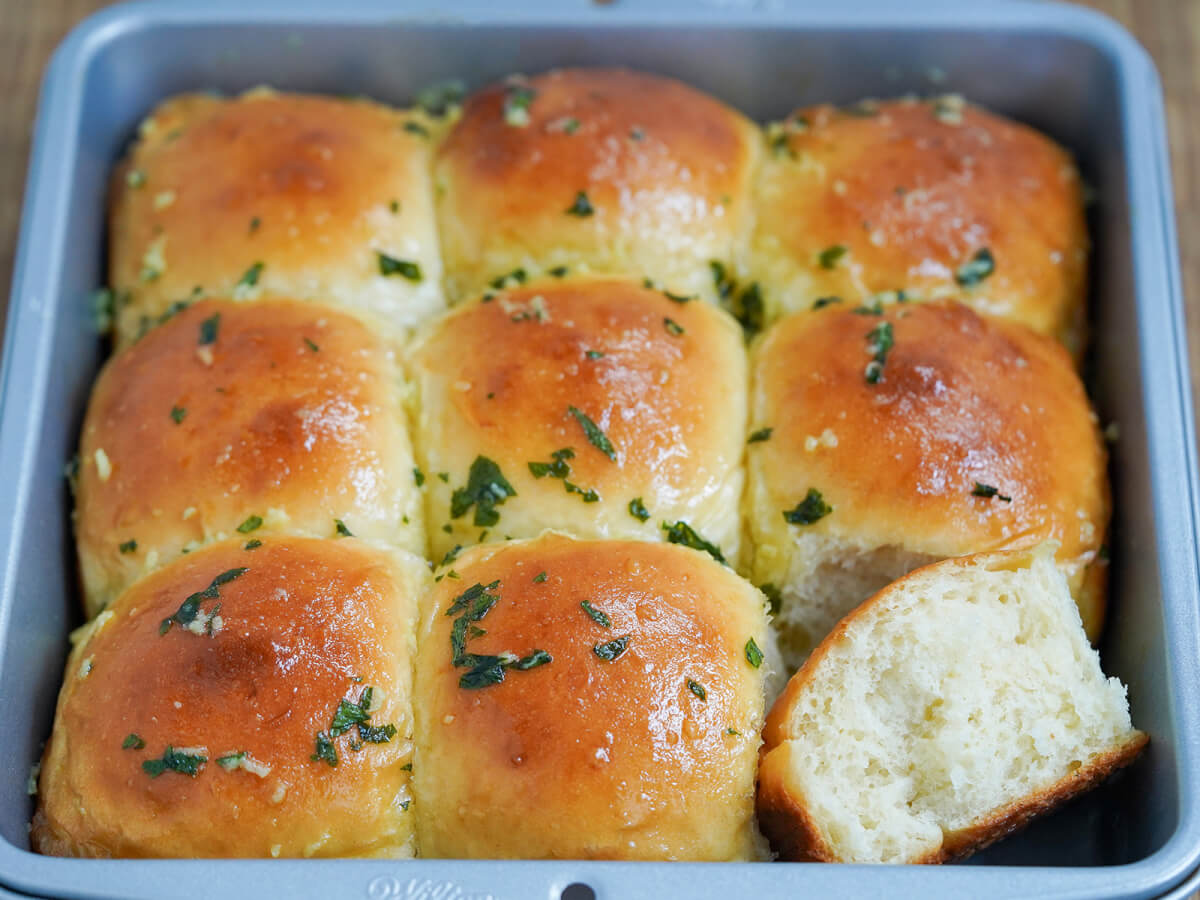
These Japanese milk bread rolls have all the wonderfully tender, soft texture of the classic shokupan loaves in mini form, and even better with a brush of garlic butter on top. They're easier to make than you might think, and last well, if they get the chance.
This post may contain affiliate links, where we earn from qualifying purchases. See more details in the policy page.
I first shared a recipe for Japanese milk bread, aka shokupan, many years ago now and it has become a reader favorite. And, I have to say, with good reason. It's wonderfully soft, light and keeps well, too. Though it's highly likely that won't be an issue as it's all too tempting to eat all at once.
At the time, the style was less well known but it has understandably become popular. And you will see variations on it these days with different flavor additions, some of which I keep meaning to try myself.
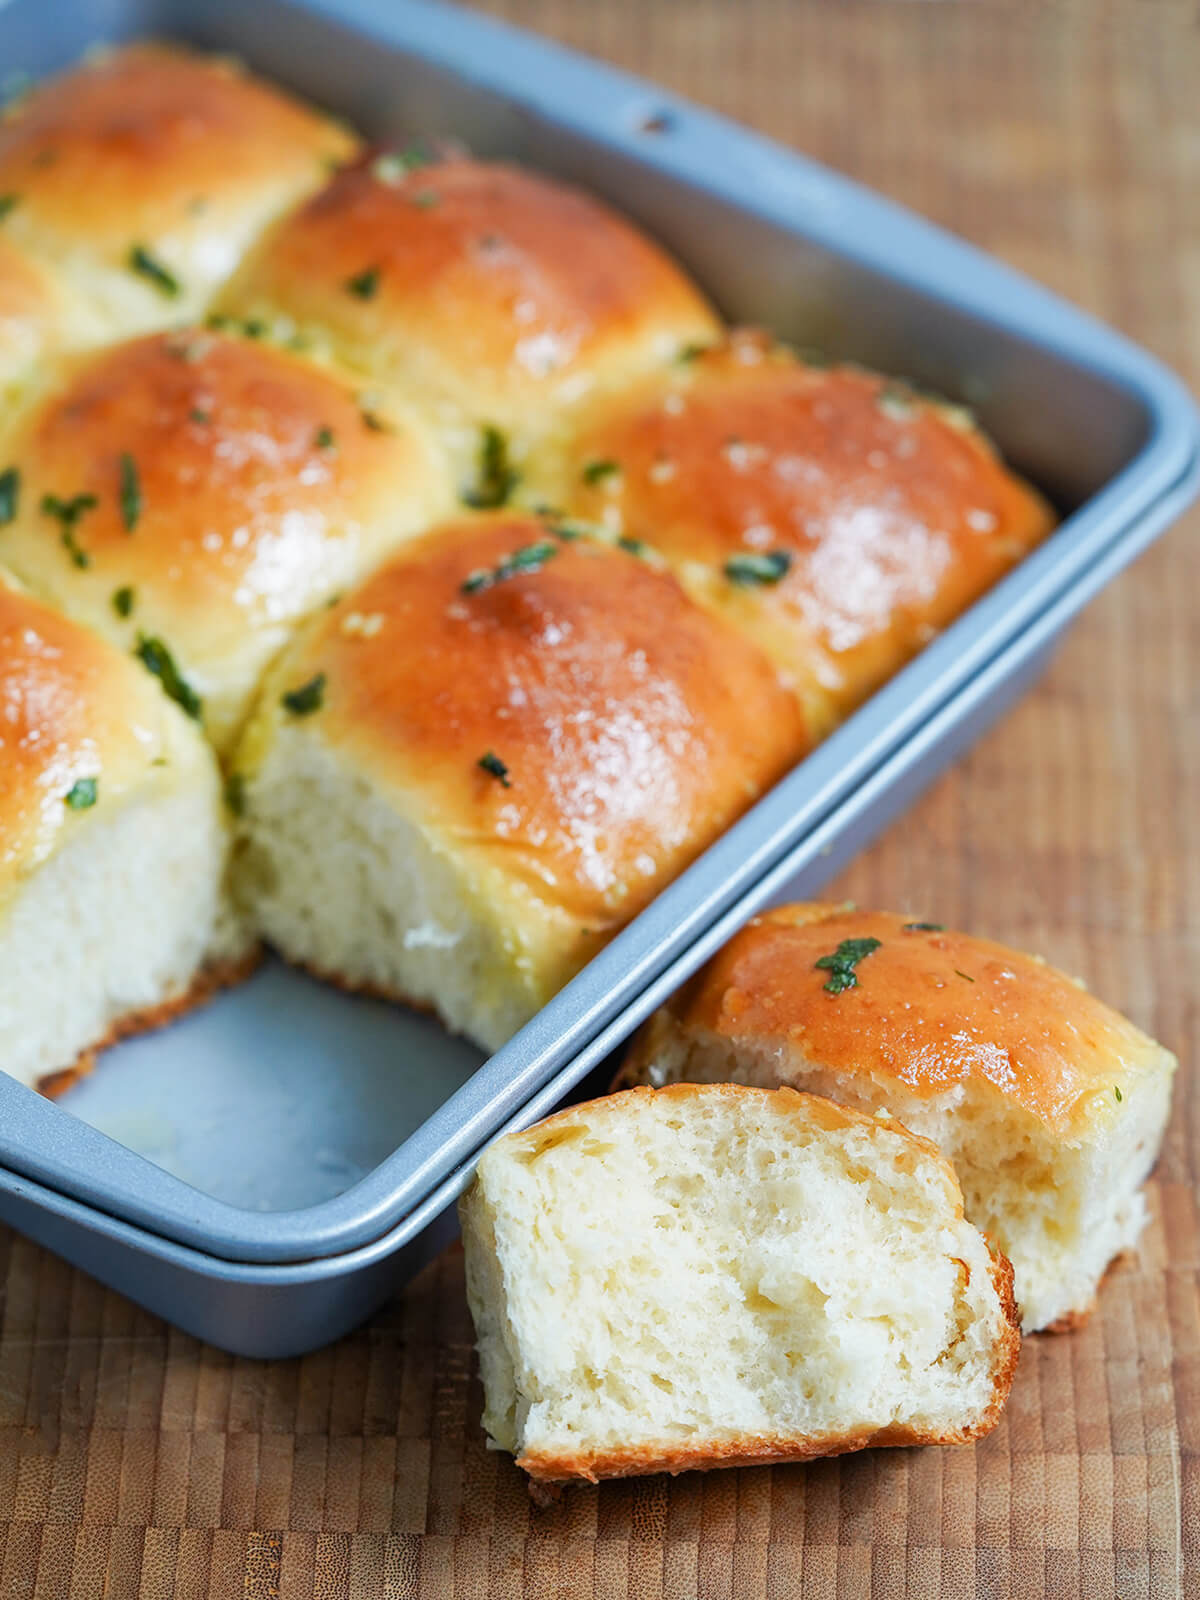
For now, though, I wanted to share a simple variation that has been on my list for years: making milk bread into rolls. They are perfect to use as dinner rolls, make into sliders or really any excuse you like. It's the same basic bread but in mini form, and made even more delicious with a garlic butter glaze.
What makes milk bread different?
There are two main things that make Japanese milk bread a little different from other styles. The first, as the name suggests, is using milk as an ingredient. Milk adds flavor to the loaf as well as helps the texture.
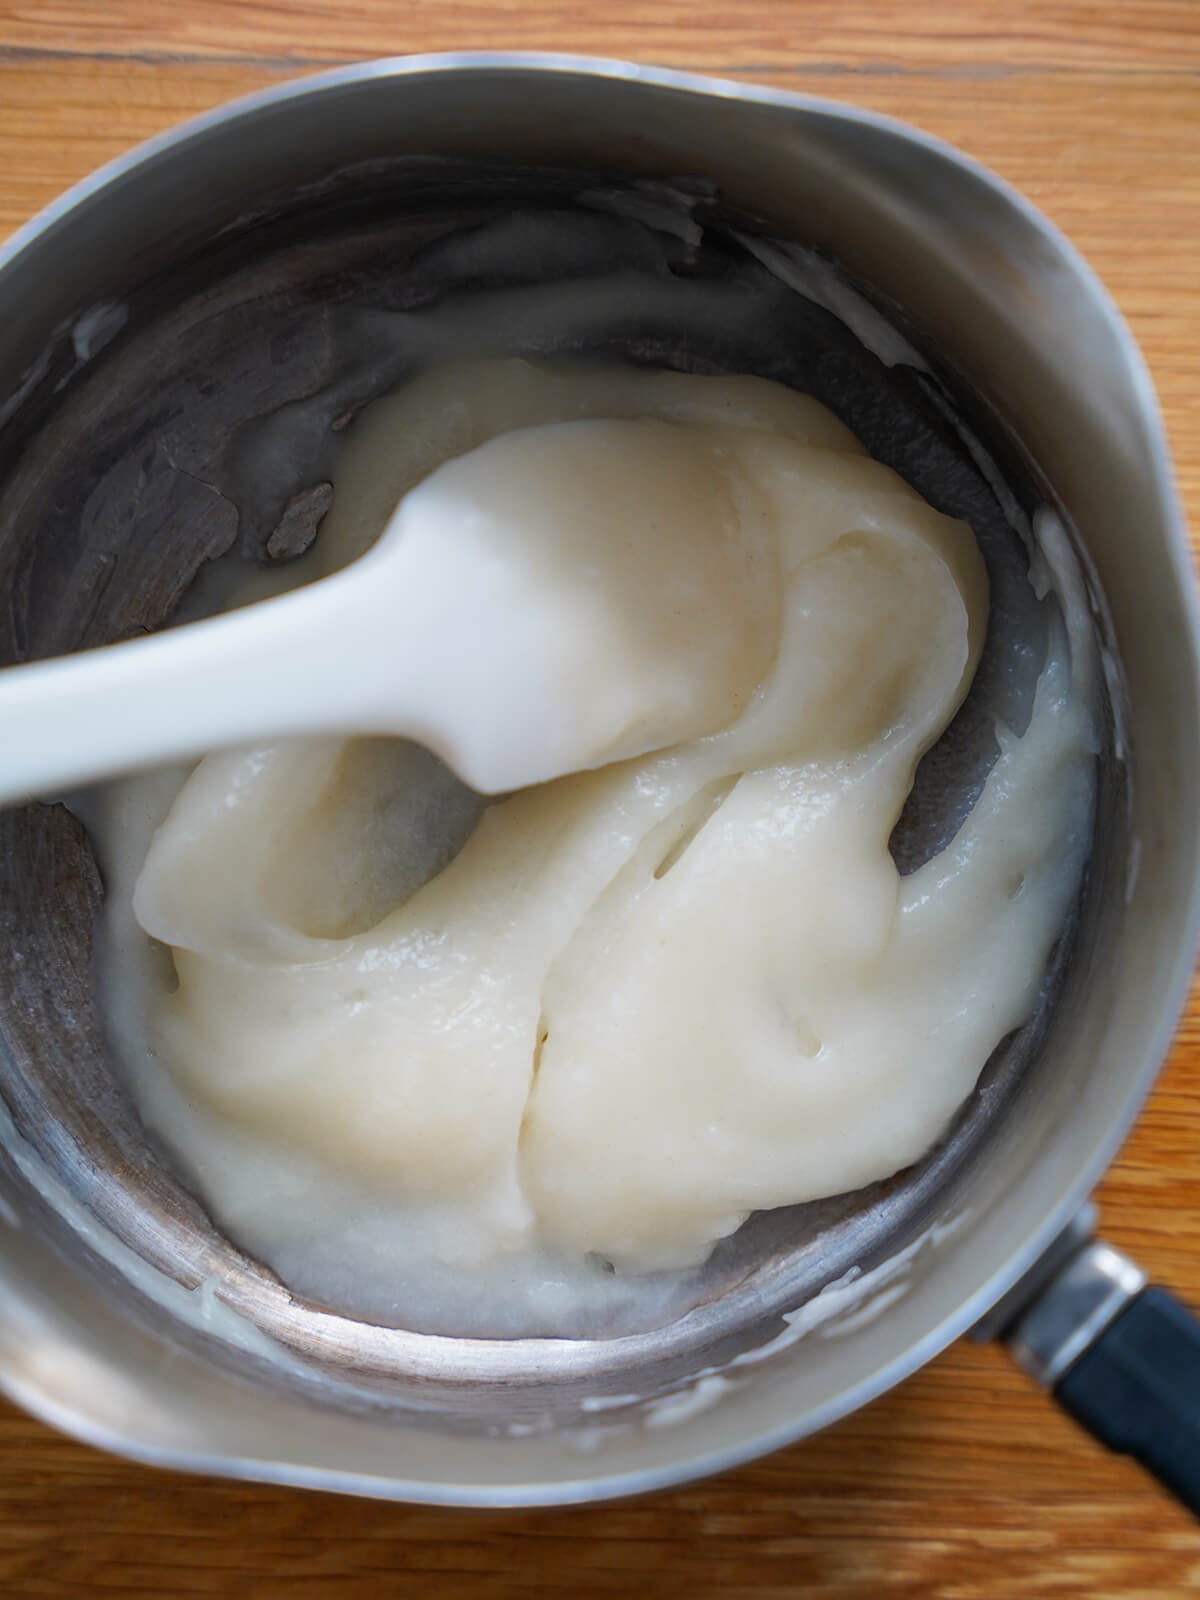
The other key feature is using the tangzhong method. This involves making a roux with some flour and water that you then mix in with the rest of the ingredients. This warming starts to activate the gluten in the flour before you even have your full dough and helps create the soft texture. It's also helps preserve the bread (as I say, if it gets the chance!).
The method evolved from Japanese yudane, which involves scalding flour with water. Tangzhong is slightly different in the ratios and since you cook the mixture, and the name was given by Taiwanese pastry chef Yvonne Chen who helped popularize the technique. These days, you'll find it used across East Asia and beyond in various different baked goods from salt bread and brioche to cinnamon rolls.
Making milk bread rolls
This follows much the same method as making a loaf, with the main difference being the forming and then shorter baking time. The steps are:
- Mix water and a little flour in a small pan until smooth and no lumps remain.
- Warm the flour paste gently until it thickens, stirring, then set aside to cool (this is the tangzhong).
- Measure out the remaining ingredients and combine with the cooled tangzhong. Mix all the ingredients together then knead, either in a mixer or by hand.
- Once the dough is no longer sticky, transfer to an oiled bowl and let it rise until doubled, around 1 - 2 hours, depending on temperature.
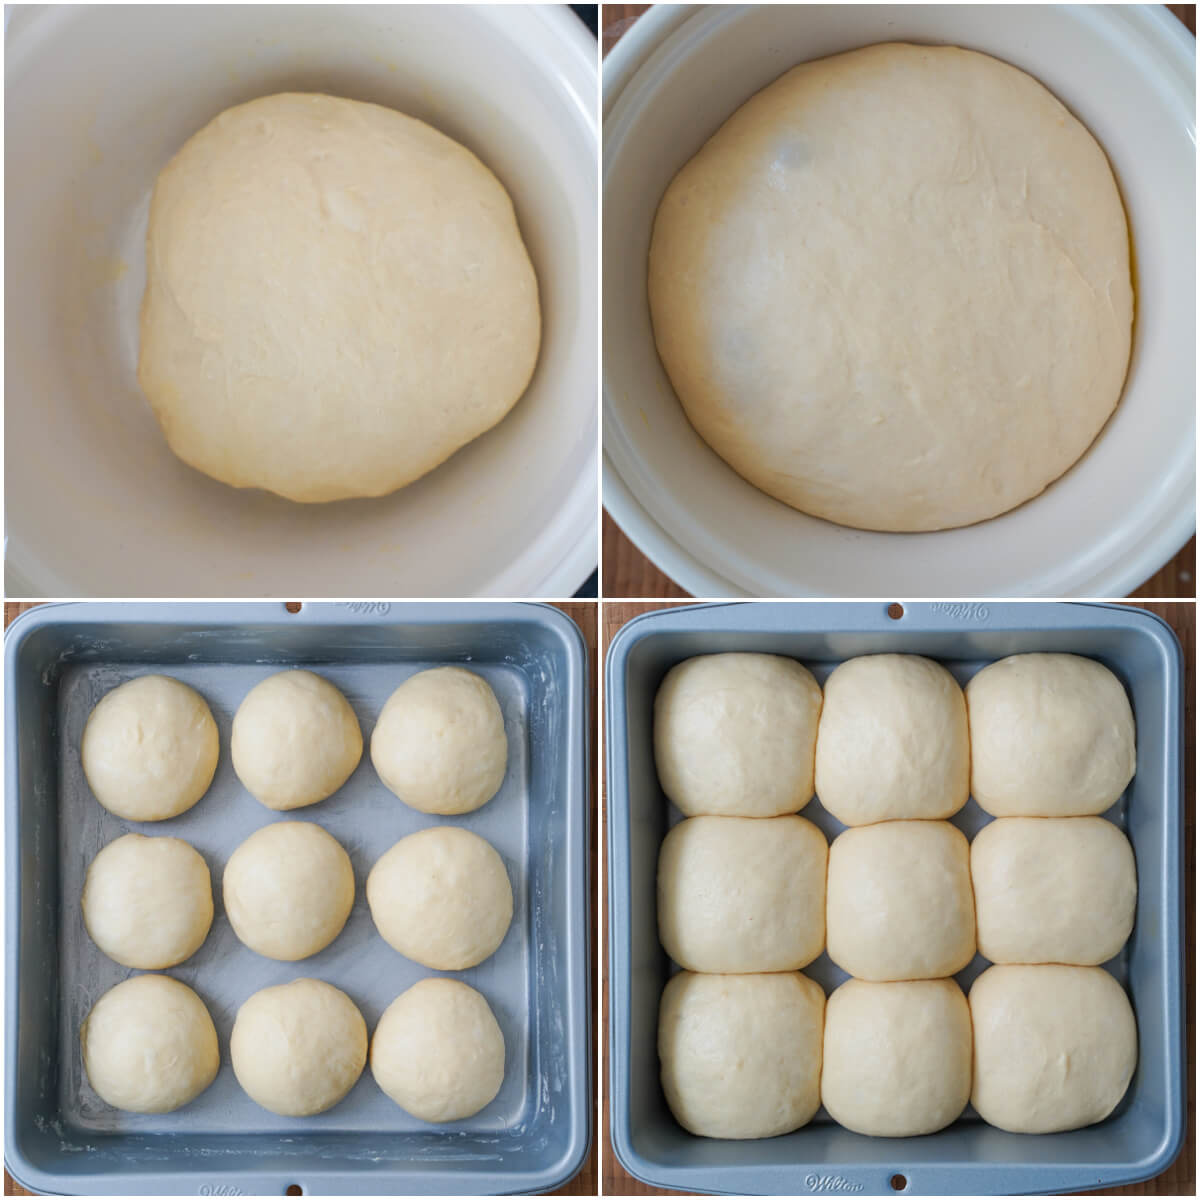
- Knock back the dough, divide into small, even pieces and roll each piece into a small ball. Exactly how many is up to you and what you will be cooking it in, but around 9 pieces is good. Try to get a relatively tight, smooth top so fold the edges over, as needed, and make a join on the base.
- Place all of the balls of dough in a buttered square or round baking pan or skillet, as you prefer, relatively close together and spaced evenly.
- Cover and leave to rise again until puffy, around 45minutes to an hour, then brush with egg wash.
- Bake for approximately 20 - 30 minutes until golden brown.
- Optionally, as they bake, make the garlic butter glaze by melting the butter then letting the crushed garlic infuse it. Once they are done, brush the rolls with the garlic butter and leave to cool either a little or completely.
It might seem like a few steps, but other than making the tangzhong, it's much like any other bread. But the end result is softer than most breads and delicious with it.
Tips for handling the dough
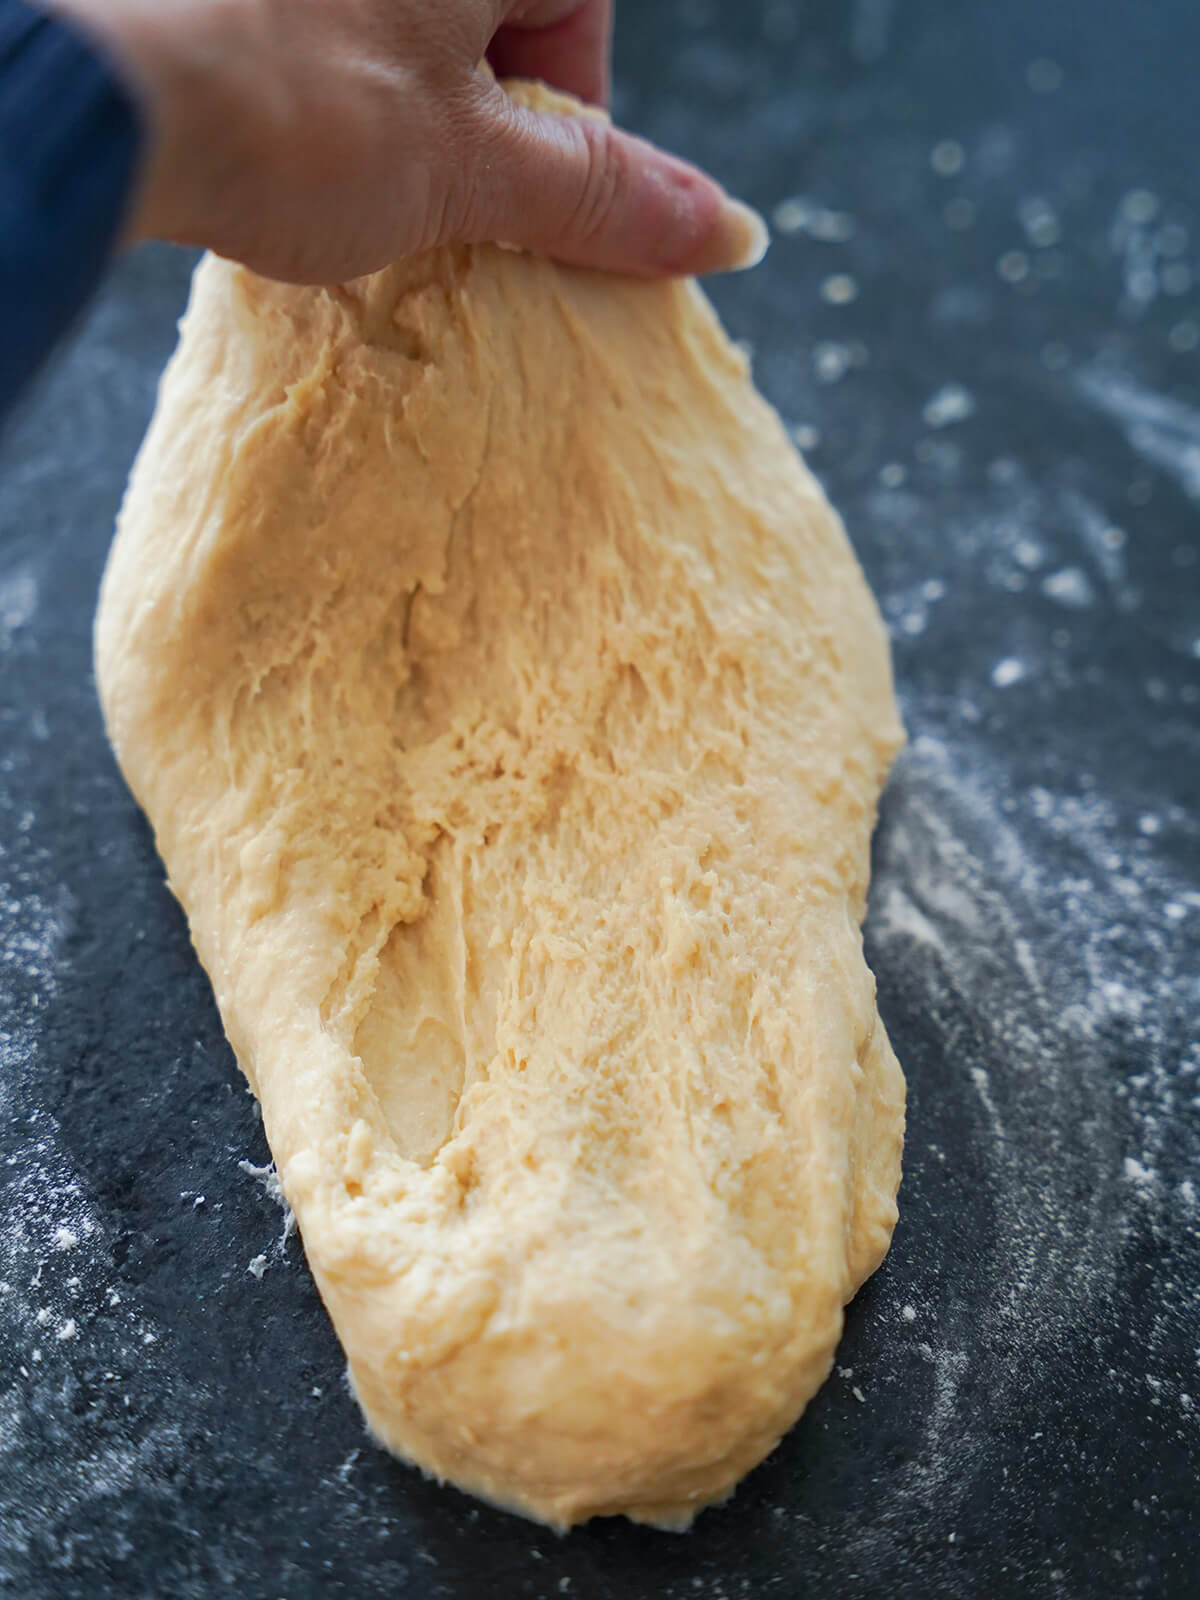
This dough is relatively sticky so can be a little more awkward to handle. This is not so much of a problem if you use a mixer with a dough hook to knead, but it's more tricky if kneading by hand, as I tend to do.
The main thing is to not be tempted to add lots more flour - it just makes the dough more dense. You will need a little, but try to use just small dustings here and there.
I find that as long as you keep the base gently floured, and flour your hands, it is generally easier to work with. Then, if it starts sticking all over the place just take a pause.
Lift the dough and roll the stuck bits around so they come together and join them into the main dough. Then, re-dust the work surface and put it back down. Clean up your hands in a similar way or wash them, and dust with flour again. You should now be ready to re-start kneading.
Forming rolls
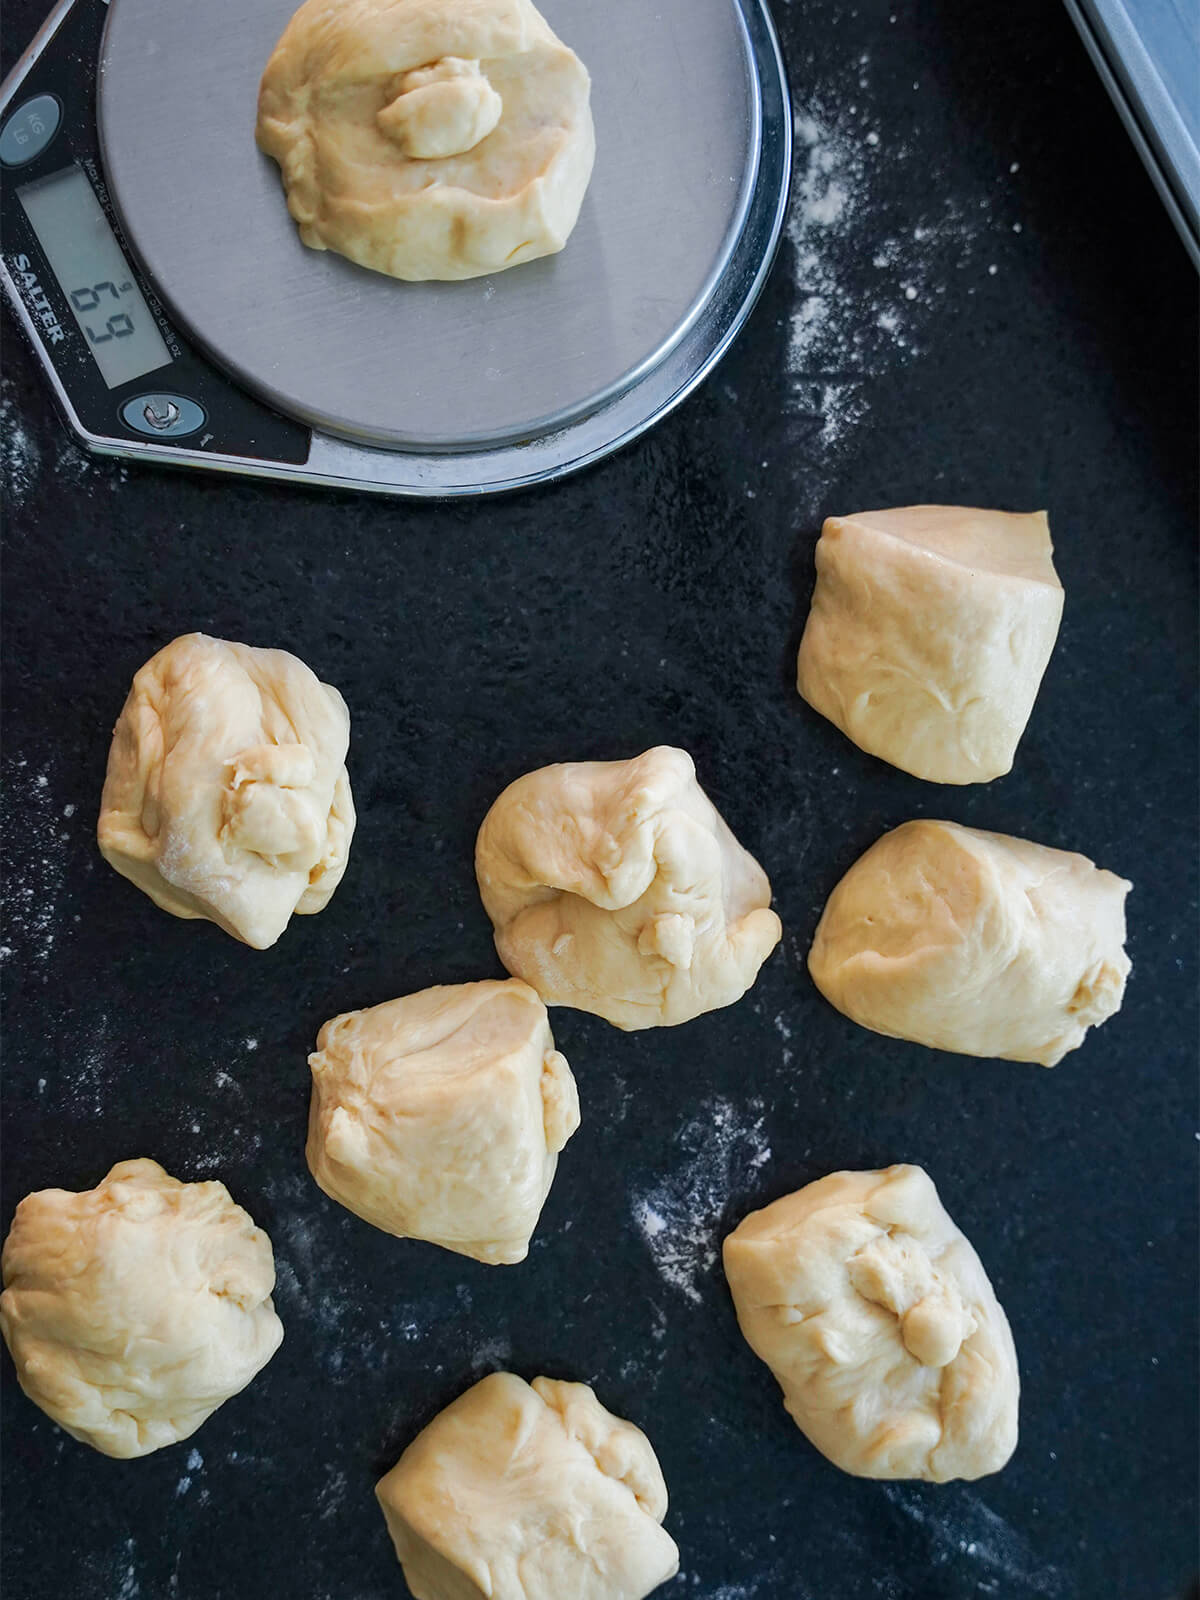
After the first rise, you want to divide the dough into even pieces so the rolls are all around the same size. I highly recommend weighing the dough to make sure they are as even as possible - if making 9 rolls as I did here, then each roll should be around 70 - 72g. Don't worry too much if you end up with bit added to some, you can hide these when you form the rolls.
You are looking for the tops of the rolls to have a nice smooth surface and for the shape to be relatively well rounded too. To do that, pick what looks the best side to be the top. Then fold the sides of the dough underneath towards the middle, so you get a slightly tight, smooth top surface. Gently roll the ball in your hand on a floured surface, join side down, to round it off.
Optional added garlic butter
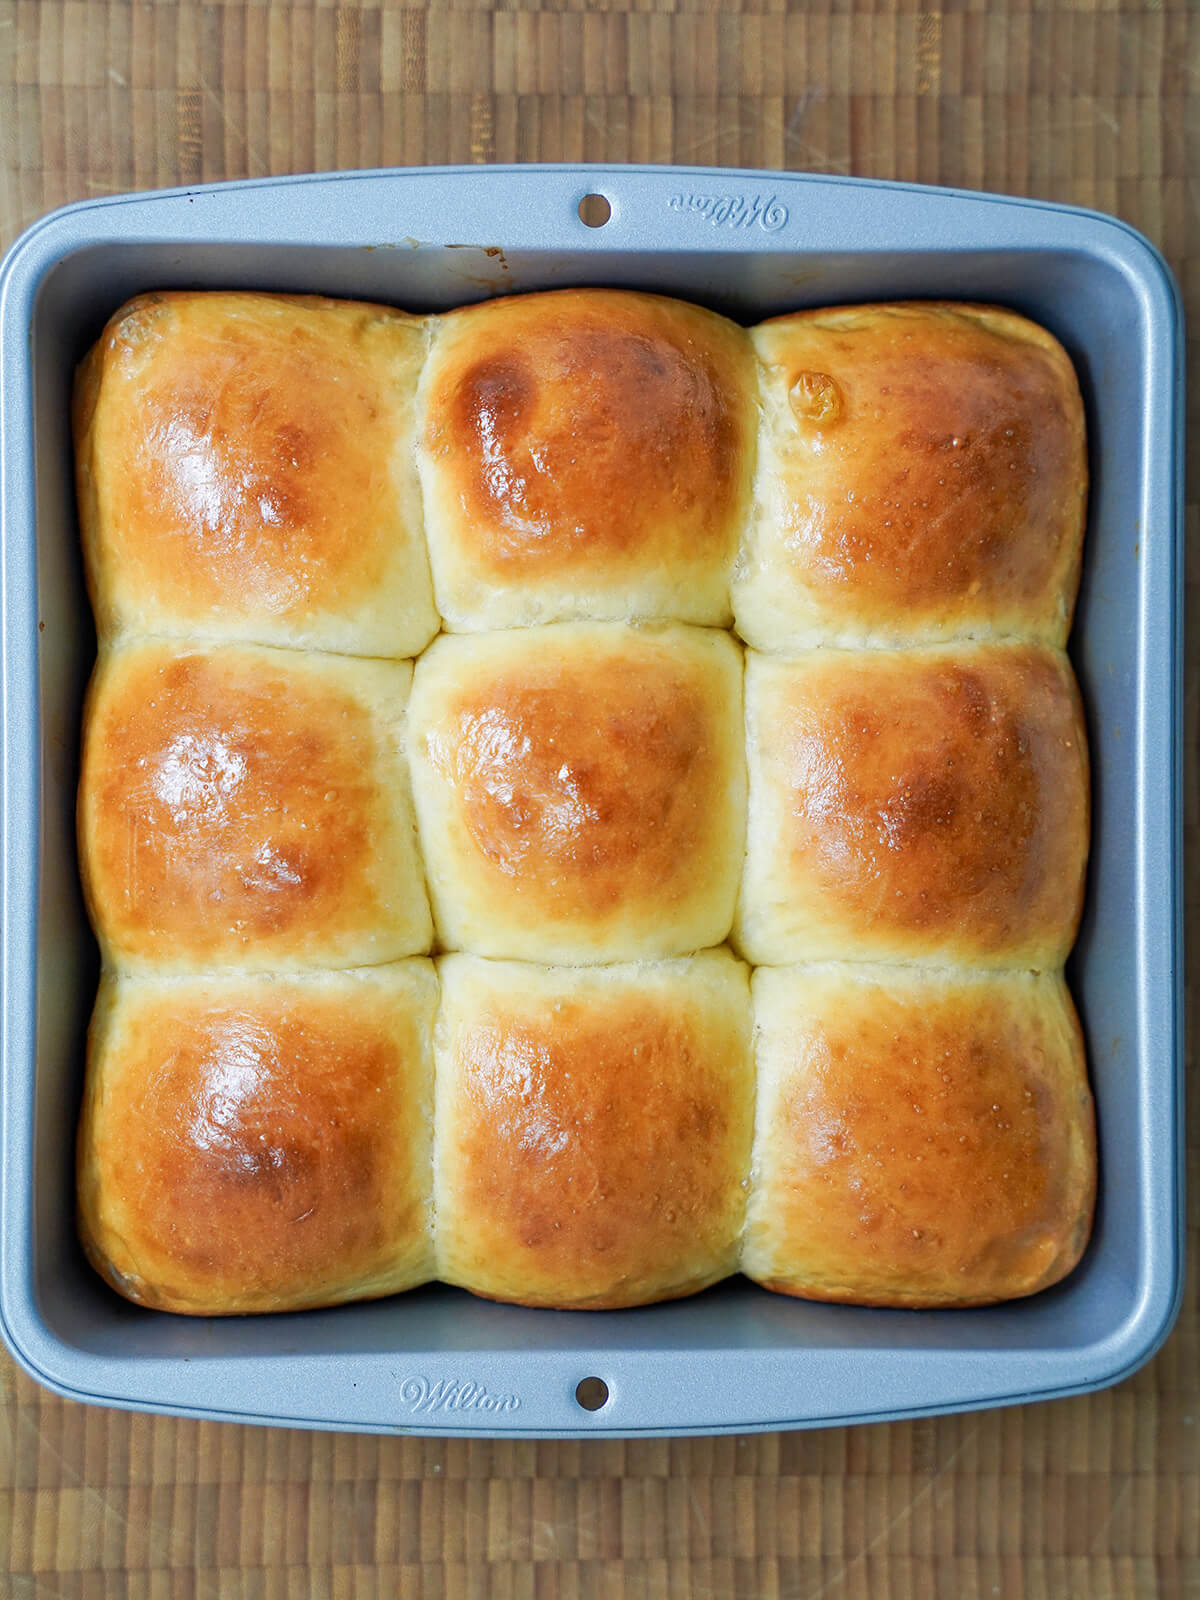
These rolls are great just as they are but I really like adding a little bit of garlic infused butter over the top, with a touch of chopped parsley mixed in there too. It's really easy to make as the rolls are baking - just melt the butter, add crushed garlic, warm a minute more then remove from heat. Add parsley and leave to infuse a minute.
If using, re-warm a little, if it has firmed up, and brush it on right after the rolls come out the oven. You may find not quite all the garlic goes on but don't worry, at least some is good. While the flavor is not that strong, it does add a bit and gives a lovely smell that makes them even more enticing. Plus, the parsley looks pretty on there, too.
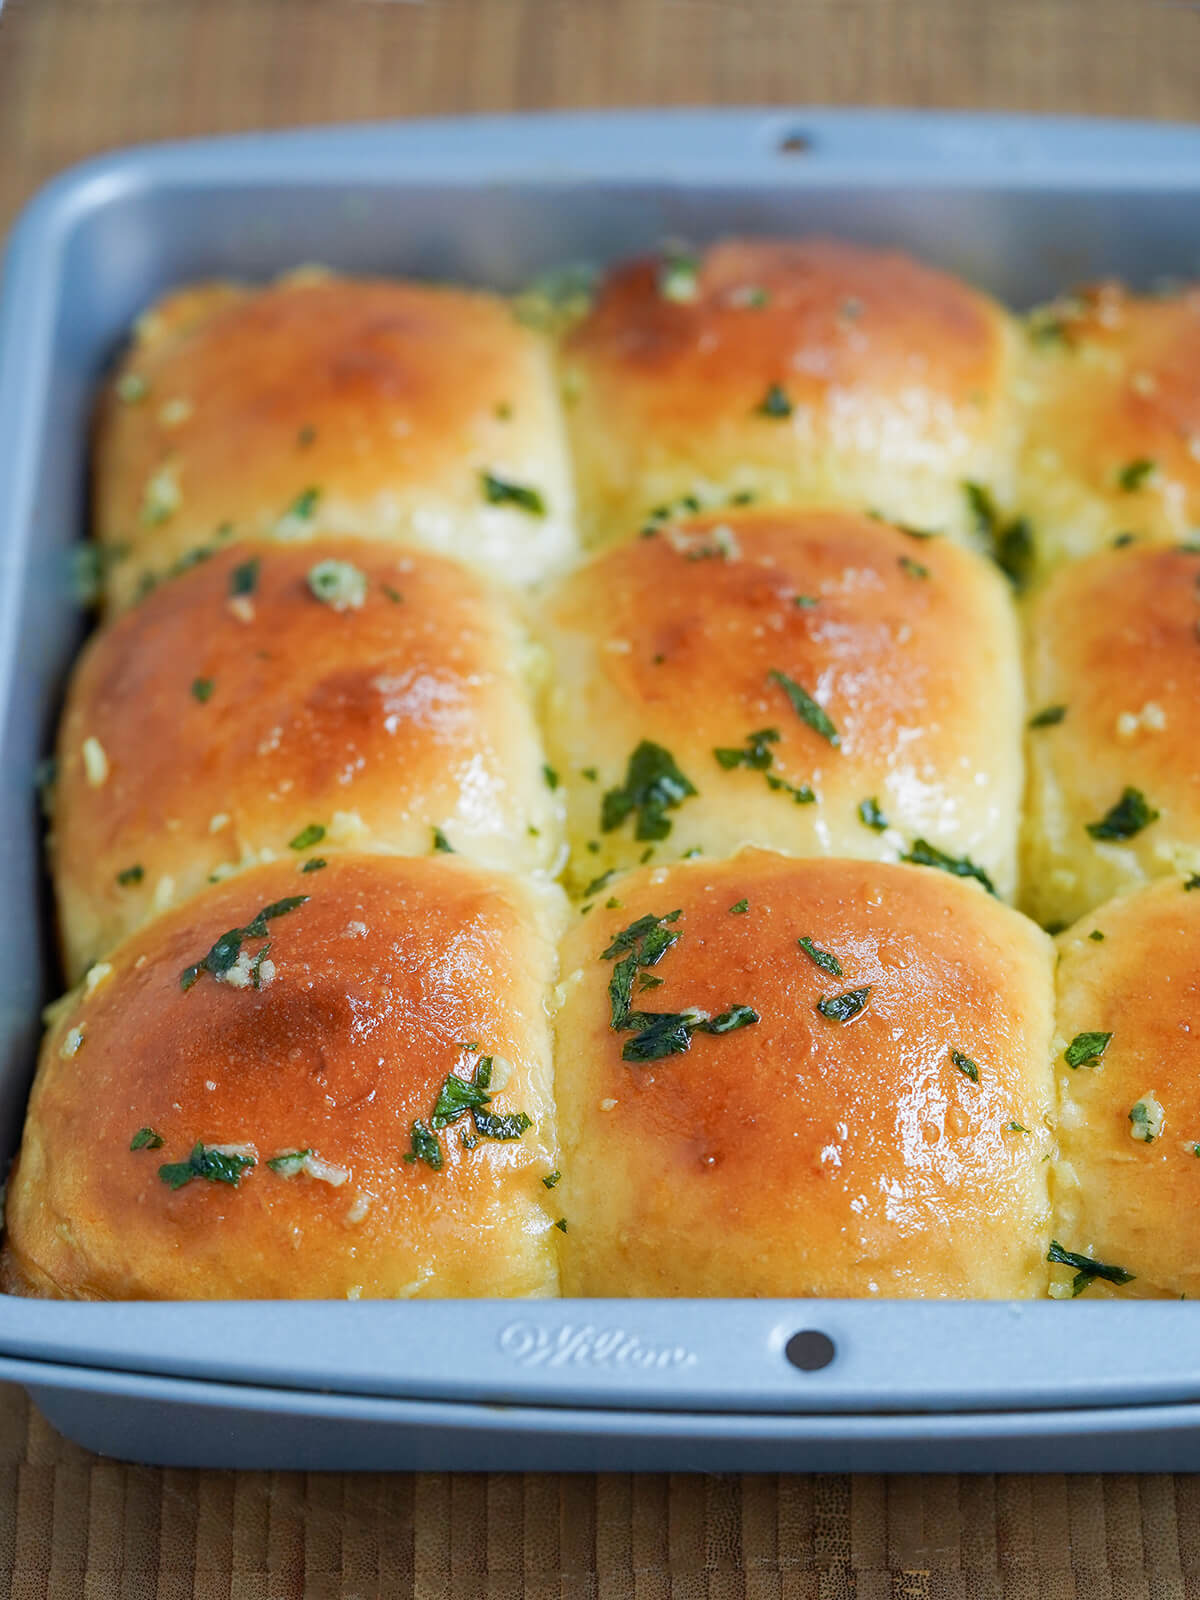
These Japanese milk bread rolls have so much going for them, from the soft texture to the flavor. They're a big fan favorite in our house and go down well with others, too. Be sure to try them, whether alongside a meal or just because. They're all too easy to find an excuse to enjoy.
Try these other tasty bread rolls:
- Chestnut bread rolls (made with part chestnut flour that gives a lovely slightly sweet, nutty flavor)
- Pan de Mallora, Puerto rican sweet rolls (they're a bit like a brioche, gently sweet but also great with eg ham and cheese)
- Spelt rolls (made with part spelt flour that has a lovely depth and tender crumb)
- Irish soda bread rolls (made with baking soda rather than yeast, they're quick and easy to make with a great flavor from the wholewheat flour)
- Plus get more bread recipes in the archives.
Japanese milk bread rolls
Ingredients
For the tangzhong
- 20 g bread flour
- 90 ml water
For rest of loaf
- 300 g bread flour (300g is approx 2 cups plus 2 tbsp)
- 7 g fast acting yeast (7g/2.25tsp is 1 sachet, ¼oz)
- 120 ml milk (lukewarm or room temp, but not hot)
- 28 g unsalted butter melted but not hot
- 5 ml salt
- 42 g sugar (caster sugar/fine)
- 1 egg (recommend lightly beating first if mixing by hand)
To glaze/egg wash
- 1 egg (lightly beaten - won't need all)
Garlic butter glaze after baking (optional)
- 28 g butter
- 5 ml garlic 5ml/1tsp is roughly 1 large clove
- 1 teaspoon chopped parsley
Instructions
For tangzhong - made slightly ahead
- Put the water and flour for the tangzhong in a small pan. Mix until smooth and no lumps remain - do this before turning on the heat.
- Warm the flour paste gently over a medium-low heat until it thickens to a paste, stirring constantly. You should see trails left by the spoon/whisk as you stir it, but not so thick that it doesn't flow any more. Set the pan aside to cool.
To make bread
- Measure out the remaining ingredients into a large bowl or bowl of a stand mixer (flour, yeast, milk, melted butter, sugar, salt and egg). Add the cooled tangzhong, then if using a mixer, mix to combine using a dough hook. If mixing by hand, I sometimes gently beat the egg into the tangzhong first to both save the tangzhong being too thick and help the egg to mix better. Alternatively, you can lightly beat the egg first separately. Both are optional, but just make sure the egg is well blended in. Whether with a mixer or by hand, mix all the ingredients and bring the dough together.
- If using a mixer, knead for around 8 - 10 minutes, adding a small amount more flour if needed. If mixing by hand, turn the dough out onto a lightly floured surface, and knead roughly 10 - 15 minutes. In both cases, it will be a sticky dough to start but try to just keep the surface and your hands dusted, if mixing by hand, and in both cases limit how much extra flour you add. Once the dough is smooth and no longer sticky, smooth it into a ball and transfer to a lightly oiled bowl. Cover and leave to rise in a relatively warm place until roughly doubled in size - around 1 hour to 1 ¾ hours, depending on your room temperature.
- As the dough is almost ready, butter the baking pan you will use for the rolls on both base and sides. I suggest using either an 8 or 9 inch (20-23cm) baking pan/tin, or a round 9 inch (23cm) pan.
- Once the dough has risen, knock back the dough, and divide into equal pieces for the number of rolls you are making - I highly recommend weighing to get them as even as possible. With a square pan, 9 is generally best, but you may want slightly more/less with a round pan. For 9 rolls, each should be around 70 - 72g.
- Take each piece of dough and pick what looks the best side to be the top. Then fold the sides of the dough underneath towards the middle, so you get a slightly tight, smooth top surface. Gently roll the ball in your hand on a floured surface, join side down, to round it off. Place each of the balls carefully evenly spaced in the prepared pan.
- Cover and leave to rise again until the rolls are puffy and join into each other, around 45 minutes or so. Preheat oven to 350F/175C. Once oven is ready, lightly beat the egg and brush the top of the loaf with egg wash.
- Bake the rolls for approximately 20 - 30 minutes until golden brown on top. If using garlic butter glaze, prepare it towards the end of baking. Melt the butter over medium-low heat then add the crushed garlic. Cook for another minute so the garlic softens and is aromatic but you don't want it to brown. Remove from heat and mix in the parsley. Set aside until needed, and gently warm to make liquid again if it solidifies as you take the rolls out. Once the rolls are ready, brush the garlic butter evenly over them. Enjoy the rolls warm or room temperature.
Notes
Nutrition (per serving)
I use this 9x9 inch square baking pan for this that works well (and has a lid, handy for storing any leftovers; affiliate link).
See some of my favorite cooking tools and ingredients in the Caroline's Cooking Amazon store.
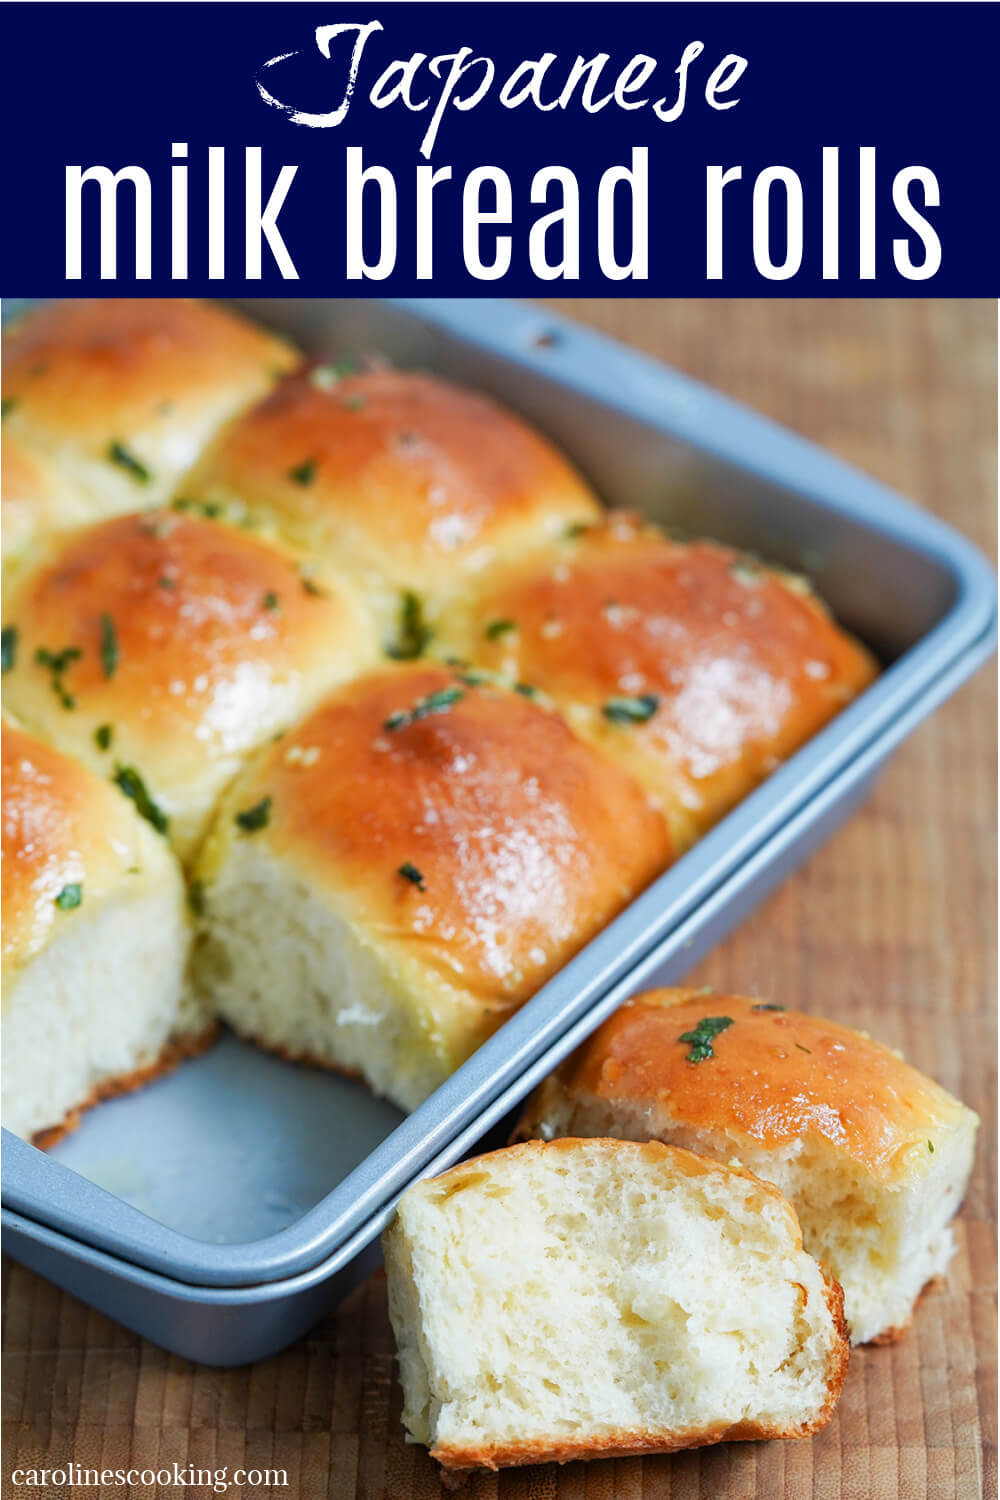
Remember to pin for later!
Leave a Reply