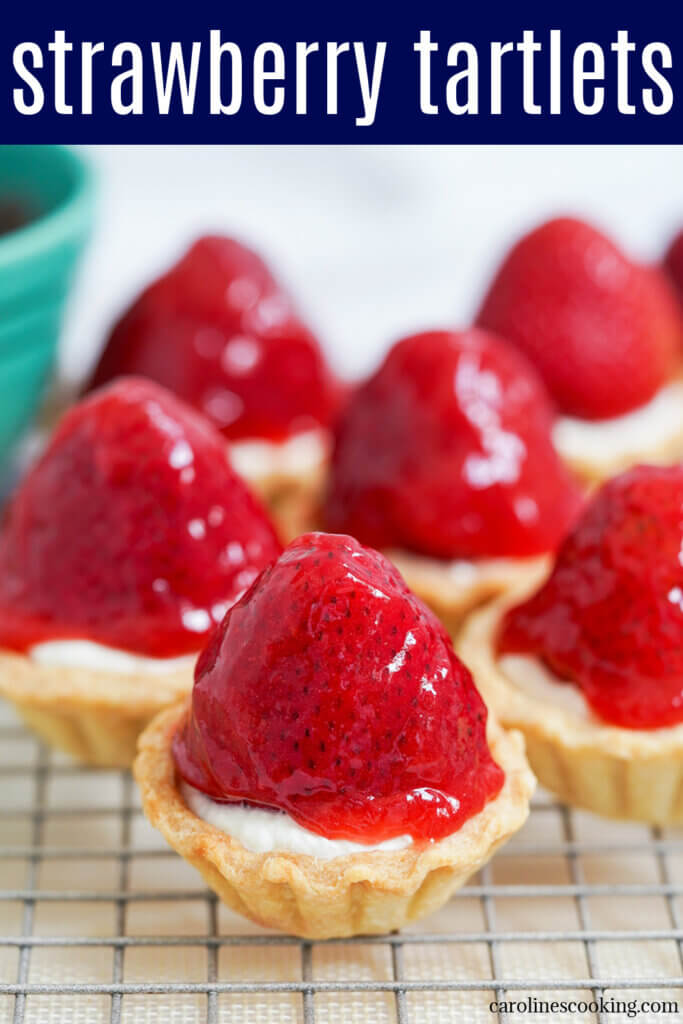
These strawberry tartlets, or Scottish strawberry tarts, are bright, delicious bites of berry and cream goodness. They're relatively simple yet they feel like a little indulgence. A wonderful way to make the most of berry season.

This post may contain affiliate links, where we earn from qualifying purchases. See more details in the policy page.
For anyone who grew up in Scotland, you will probably recognize these little bites right away. They are a classic treat you'd find in bakeries across the country when it's strawberry season.
While the climate in Scotland is sometimes made fun of for being cold and wet (and honestly, sometimes for good reason), it is perfect for growing wonderfully sweet, juicy strawberries. They really are some of the best around, even being a wee bit biased.
I have fond memories of going to a pick your own farm most years and loading up to make jams like strawberry raspberry jam, or enjoy as a snack. And these little tarts were an occasional treat, too.

In Scotland, these are typically called strawberry tarts, but they are really more tartlets since they are each just a couple of bites. Now granted, while they look pretty and taste great, they are not always the easiest to eat without getting a little messy. But I assure you, they are most definitely worth it.
Components in these strawberry tartlets
These little tarts have four main parts to them:
- Pastry base - this is a gently sweet shortcrust pastry that's easy to make with butter, flour, a little sugar and a little water. If you are short on time, you could use ready-made shortcrust pastry. I'd suggest not using pie crust dough as that tends to be a little more flaky.
- Whipped cream - this acts as the base filling in the tartlets. It's easy to make, though this, too, you could buy ready made. If you want to go a little fancier, you could use pastry cream, but regular whipped cream (only lightly sweetened, if at all) is more typical and works well.
- Fresh strawberries - each tartlet is topped with a large, ripe strawberry, so make sure you hunt down some really nice looking ones. I've had these with chunks of strawberry instead, especially if the bases are made slightly larger.
- Strawberry glaze - in Scotland, you can buy ready-made glaze, but it's easy enough to make your own, as described below. It's in effect a strawberry sauce, thickened with cornstarch, and strained to remove seeds and solids. You could also use strained strawberry jam, though it may not have quite the right thickness.

Tips for making the pastry bases
While as I say, the pastry is really simple with just a few ingredients, a few things are worth keeping in mind to help them turn out well. First, a food processor helps the ingredients to come together quickly and be well combined. However you can also mix the dough by hand. Use a pastry cutter or rub the butter into the flour until very small pieces, then add the water and knead to mix.
Be sure to chill the pastry before rolling to help avoid it sticking. Just flatten the dough into a disk and wrap in plastic wrap/cling film. Then chill again after filling the moulds to limit how much it shrinks as it bakes.
Roll the pastry with a rolling pin and then cut circles to fill the mould you are using. Remember the pastry shrinks a little when it bakes so slightly over-fill. To cut the pastry, use either a fluted cutter so you have a wavy edge, or cut circles then use the tips of a fork to make a pattern on the edges so they are neater.

Then prick the surface with a fork to let air out as it bakes in the oven. You first blind bake the pastry, meaning you have the inside covered and weighted so it doesn't puff up as it bakes. Line with cupcake liners or parchment then fill the inside with baking beans or similar (you can use dry beans, just remember they won't work to then cook later, but you can use them for baking again).
After blind baking, remove the filling and cook a few minutes more to dry out and crisp the pastry. Let the pastry cool before removing the mould then let it cool completely before filling.

What is the best mould/tin to use for the pastry shells?
Ideally, use small moulds such as the ones you would use for custard tarts for the pastry shells. I used ones that are fluted and have a 2.6in (6.6cm) diameter at the top and a depth of 0.9in (2.3cm). You can use moulds that have a removable bottom to make them a little easier to release, but nonstick also works well.
If you don't have these, you can also use a muffin tin or small tart pan. Just bear in mind you may get a few less tarts as these can be larger. Also, you probably don't want to fill a muffin tin all the way to the top as they tend to be deeper.

Preparing ahead
While these are best to be eaten relatively soon after making them, you can make parts ahead of time.
You can make up the pastry dough and either store in the fridge for a day or two, or freeze it for longer storage. You can also bake the pastry cases and store at room temperature for a day or two unfilled.
Whipped cream can be stored around 3 or so days in the fridge and the strawberry glaze can as well. Fresh strawberries will also keep a few days refrigerated. Though I recommend not storing too long or they start to dull and soften.
Then, assemble the tartlets shortly before serving for the best appearance and texture. The pastry can soften if left filled too long. If the glaze is too thick to drizzle, warm it gently to see if that helps. If needed, add a little extra water to thin it slightly.

These strawberry tartlets are like mini pies, an upgraded strawberries and cream or just a simple, tasty combination that makes a delicious little treat. They're great to add to a dessert tray at a party, or just to enjoy as a snack. And being small, there's every excuse to come back for another.
Try these other berry desserts and snacks:
- Rote Grütze - a tasty and easy German mixed berry pudding, delicious served with vanilla sauce.
- Strawberry mousse - easy, creamy, fruity and made ahead so great for entertaining.
- Finnish blueberry pie (mustikkapiirakka) - a delicious mix of crumb base with a berry and creamy cheesecake-like filling, infused with delicate cardamom.
- Plus get more snack recipes in the archives.
Strawberry tartlets
Ingredients
For the pastry
- 1 ½ cups all purpose flour plain flour
- 2 tablespoon sugar
- 1 pinch salt
- 7 tablespoon unsalted butter
- 2 tablespoon cold water or a little more as needed
For the strawberry glaze
- 1 ½ cups strawberries hulled and roughly chopped
- ½ cup sugar
- 1 tablespoon corn starch corn flour
- 3 tablespoon water
For rest of tartlets
- 12 strawberries large
- ¾ cup heavy cream
Instructions
To make pastry
- First, make the pastry by mixing the flour, sugar, salt and butter in a food processor and pulse until you get a fine breadcrumb texture. Add the water gradually and pulse so that the dough comes together in larger crumbs/clumps - if it doesn't come together a bit after a few pulses, you may want to add a little more water but try not to add too much. It only needs to be starting to clump, it will then press together fine.
- Bring the dough together into a ball with your hands, flatten it, and wrap in plastic wrap/cling film or in a freezer bag and refrigerate for 30 minutes - this helps to avoid the pastry shrinking when you bake it.
To make strawberry glaze
- While the pastry is cooling, make the strawberry glaze. Place the chopped strawberries and sugar in a small-medium pot/pan. Mix the corn starch/corn flour with part of the water to make a slurry and add this in with the strawberries. Add the rest of the water then warm everything over a medium heat to bring it to a simmer, stirring now and then.
- Mash the berries as needed to break them up as you simmer the sauce. Reduce heat as needed and simmer for around 20 minutes so that it thickens well. Remove from heat and strain the mixture through a fine strainer/sieve to remove strawberry seeds and any remaining larger solids. Let the glaze cool.
To form and bake pastry bases
- Roll out the pastry to around ⅛in/2-3mm thick and cut circles of pastry larger than your moulds so that the pastry fills the mould when pressed in to the base and sides, and hangs over the top edges very slightly. Repeat with rest of pastry and moulds then prick the pastry all over. Chill the pastry cases around 15 - 20 minutes and meanwhile preheat the oven.
- Preheat the oven to 375F/190C. As it's ready, line the pastry with mini cupcake liners and add baking beans (or eg dry rice/beans to weigh down - note you won't be able to eat them after baking but can use for same purpose again).
- Blind bake the pastry for 15 minutes until starting to dry around the edges, then remove the liners and baking beans, and return to bake another 5 minutes until gently golden and crisp. Let the pastry cool a few minutes before removing from the moulds to cool completely.
- Up to this point can be prepared ahead - you can store the pastry cases at room temperature, in a sealed container, and the glaze in the fridge. If needed, gently warm the glaze when ready to use to make it easier to spread/drizzle and if still too thick, add a drop or two water.
To assemble tartlets
- Hull the strawberries and wash and dry them - they should not be wet or the glaze will not hold properly. Place the cream in a wide bowl and whip until it forms firm peaks. Note if you like, you can add a few drops of vanilla and/or a spoonful of confectioners sugar (icing sugar) to flavor and sweeten the cream though it's not strictly needed.
- Add a spoonful of the whipped cream in the bottom of each pastry base to fill it around ¾ full. If you prefer, you can pipe it in to fill. Place a strawberry on top of the cream, the hulled side down and gently press into the cream. Then drizzle over some of the strawberry glaze so that you have a layer all over the strawberry and slightly dripping into the cream. You want enough so the strawberry is fully covered, but not so much it looks thick (you should still be able to make out the strawberry seeds) or is running over the pastry.
Video
Notes
Nutrition
See some of my favorite cooking tools and ingredients in the Caroline's Cooking Amazon store.
Remember to pin for later!

Leave a Reply